

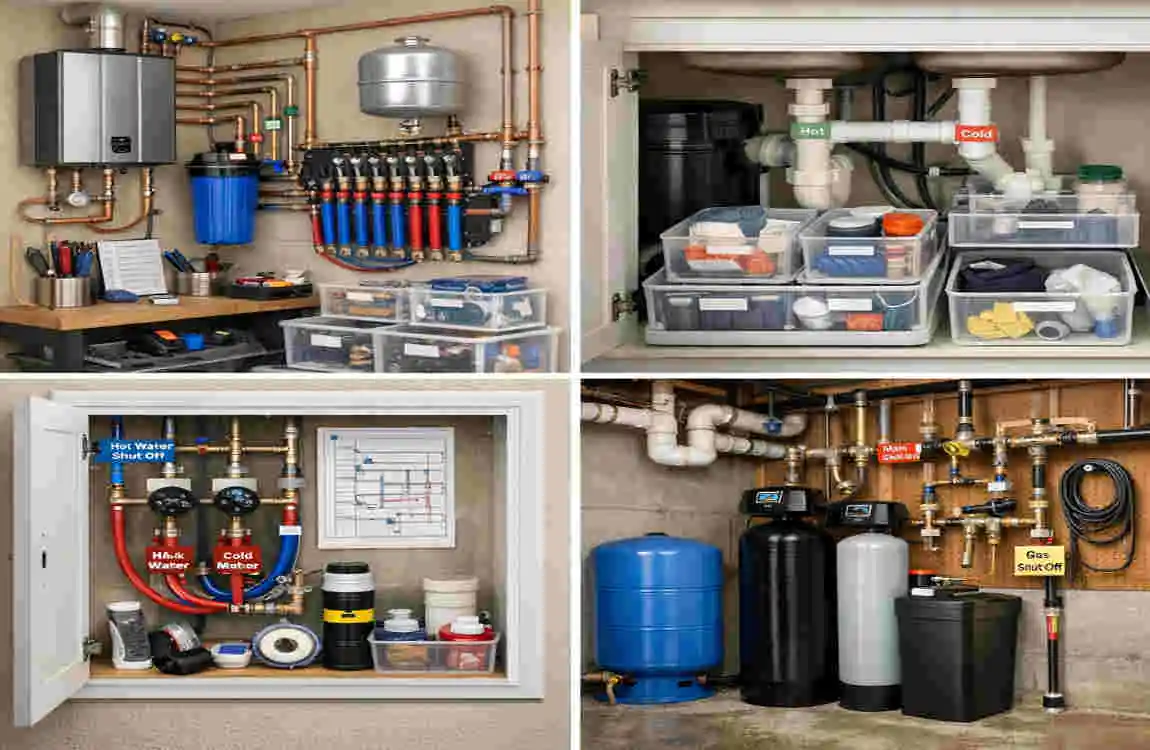
If you are learning how to organise plumbing at home, the goal is simple: make your system easier to find, maintain, and fix in an emergency. A well-organised plumbing setup saves time, reduces stress, and helps you catch small issues before they turn into bigger problems.
You do not need to be a plumber to get started. With a few smart habits, clear labels, and a simple maintenance routine, you can keep your home plumbing much more manageable.
Understanding How to Organise Plumbing at Home
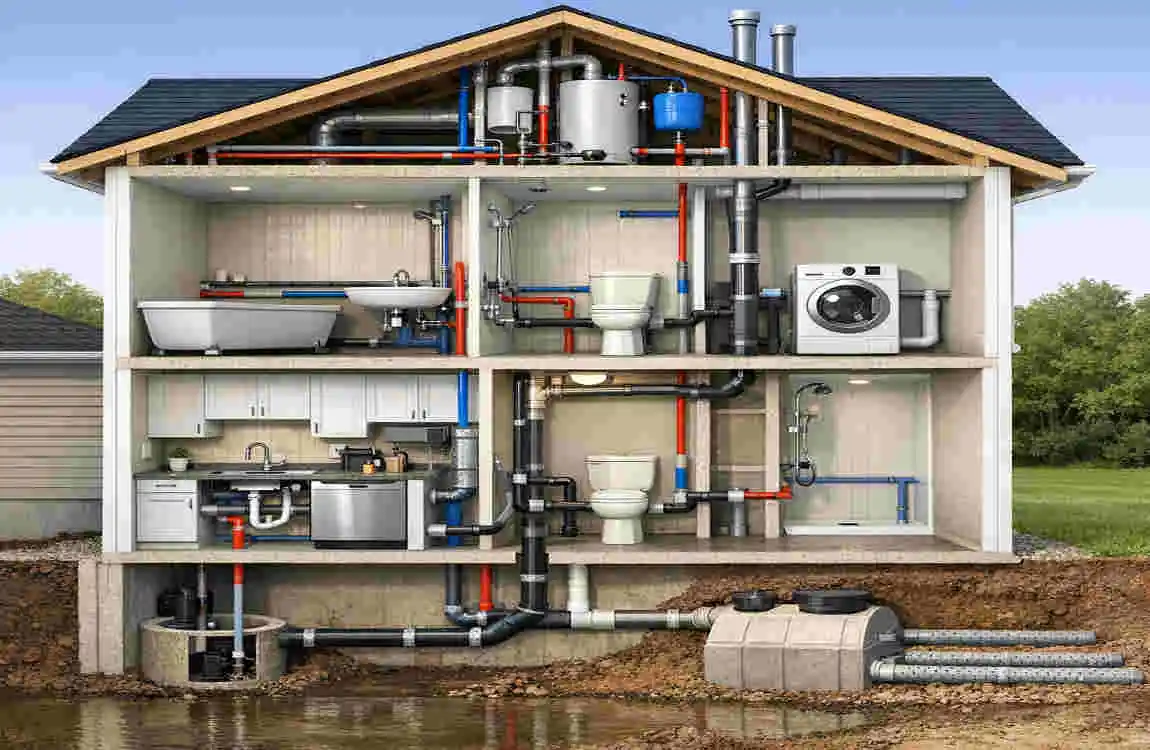
What an organised plumbing system means
An organised plumbing system is one in which you know what each pipe, valve, and drain does. You should be able to find the main shut-off valve, understand which lines serve which fixtures, and know where problems might start.
That does not mean your plumbing has to look perfect. It just means it should be easy to understand.
Why it matters
When plumbing is organised, repairs become faster. If a leak starts, you will not waste time guessing where to turn off the water. If a drain clogs, you will know which line may be affected.
This is especially helpful in older homes, where pipes may not be obvious or clearly marked.
Main parts to know
A home plumbing system usually includes:
- Supply lines that bring water in
- Drain pipes that remove wastewater
- Vent pipes that help air flow through the system
- Shut-off valves for the whole home and individual fixtures
- Fixtures like sinks, toilets, tubs, and washing machines
Common mistakes to avoid
Many homeowners make plumbing harder than it needs to be. A few common problems are:
- Blocking access to shut-off valves
- Not labelling pipes or fixtures
- Keeping plumbing supplies in random places
- Ignoring small leaks or slow drains
- Forgetting where the main water shut-off is
A little planning now can prevent a lot of trouble later.
Create a Simple Plumbing Map
Start with the main shut-off valve.
One of the most important steps in organising plumbing is knowing where the main water shut-off valve is. If a pipe bursts or a major leak occurs, this is the valve that shuts off water to the whole house.
Make sure every adult in the home knows where it is and how to use it.
Mark individual shut-offs
Many sinks, toilets, and appliances have their own shut-off valves. These smaller valves let you shut off water to a single fixture without affecting the entire house.
It helps to label them clearly so you do not have to search during a repair.
Map the basics
Your plumbing map does not need to be fancy. A simple sketch is enough. Mark:
- Main water shut-off
- Fixture shut-offs
- Hot and cold lines
- Major drain paths
- Visible vent pipes
Keep a copy you can find quickly.
Store a printed copy in a utility drawer or folder. You can also keep a digital copy on your phone. That way, if something goes wrong, you can find the right valve or line fast.
Simple plumbing map table
Item to Map | What to Note
Main shut-off valve Location and how to turn it off
Sink shut-offs Which sink each valve serves
Toilet shut-off Exact location near toilet
Water heater lines Hot and cold connections
Drain lines Where wastewater goes
Vent pipes Visible vent routes if accessible
A plumbing map is one of the easiest tools you can create, and it can save you a lot of time during an emergency.
Organise Plumbing Storage and Supplies
Create one plumbing supply area.
Do not scatter plumbing parts all over the house. Pick one dry and easy-to-reach place for your tools and replacement items. A shelf in the garage, a utility cabinet, or a basement storage bin can work well.
When everything is in one place, repairs become much easier.
Keep the right tools handy.
You do not need a huge collection. A basic plumbing kit should include:
- Adjustable wrench
- Plunger
- Pipe tape
- Bucket
- Flashlight
- Rubber gloves
- Simple drain snake
Store small parts in labelled containers.
Washers, connectors, clips, and fittings are easy to lose. Use small containers or zip bags and label them clearly. Group similar items together so you can grab what you need quickly.
This is one of the smartest plumbing storage ideas because it prevents waste and confusion.
Keep emergency supplies nearby.
It helps to keep the most useful items easy to reach. If a pipe leaks at night, you do not want to dig through stacked boxes to find a wrench or towel.
Avoid unsafe storage
Do not store plumbing tools near harsh chemicals or in wet areas. Moisture can damage metal tools, and chemicals can make storage unsafe.
A neat utility area also makes it easier to notice leaks, drips, or other issues before they get worse.
Keep Pipes, Drains, and Access Areas Clear
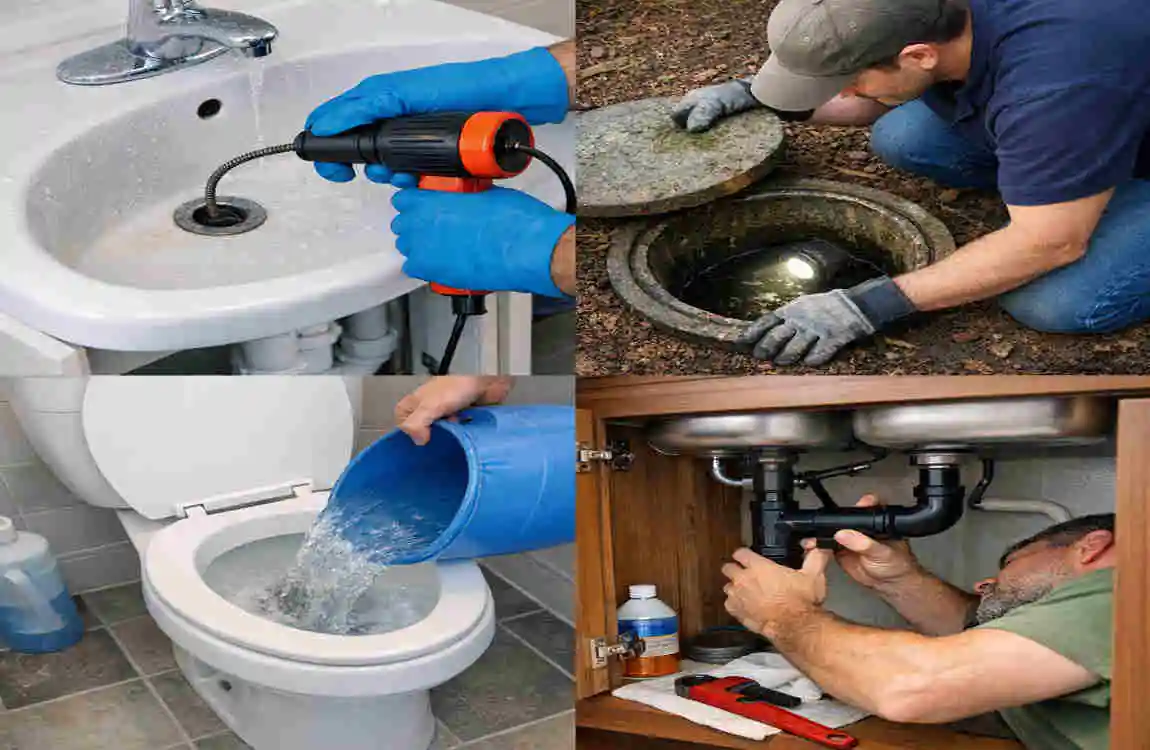
Do not block access.
Plumbing works best when you can reach it easily. Avoid piling boxes, cleaning products, or storage bins in front of shut-off valves or under sinks.
If you need to fix something fast, access matters more than appearance.
Keep under-sink spaces tidy.
The space under a kitchen or bathroom sink often becomes a catch-all for random items. That makes it harder to spot leaks or cracks.
Try to keep that area simple. Leave room around pipes and valves so you can inspect them quickly.
Watch basement and utility areas.
Exposed pipes in basements, garages, and utility rooms should stay visible. If you cover them up with storage, you may miss early warning signs like rust, moisture, or dripping water.
Check for small problems.
Look for:
- Leaks
- Corrosion
- Condensation
- Loose joints
- Slow drips
These issues are often small at first, but they can lead to bigger repairs later.
Why clear access helps
When plumbing is open and visible, repairs are faster and cheaper. A plumber can work more easily, and you can do basic checks without moving half the room.
Build a Practical Plumbing Maintenance Routine
Make a monthly checklist.
A simple monthly check can help you stay ahead of problems. You do not need to spend hours on it. Just walk through the house and look at the most important plumbing points.
What to inspect
Check these areas regularly:
- Faucets
- Toilets
- Sinks
- Visible pipes
- Shut-off valves
- Drains
Clean drains carefully
Use safe cleaning methods that will not damage your pipes. Avoid harsh products that can wear out plumbing over time. If a drain is slow, address it early instead of waiting for a full clog.
Keep a repair record.
Write down any repairs, part replacements, or plumber visits. This helps you see patterns. If the same issue keeps coming back, you may have a bigger problem that needs attention.
Ask for help when needed.
Some plumbing jobs are best left to a professional. If you notice recurring leaks, low water pressure, or hidden damage, it is smart to call a plumber before the issue becomes more expensive to fix.
Smart Ways to Prevent Plumbing Problems
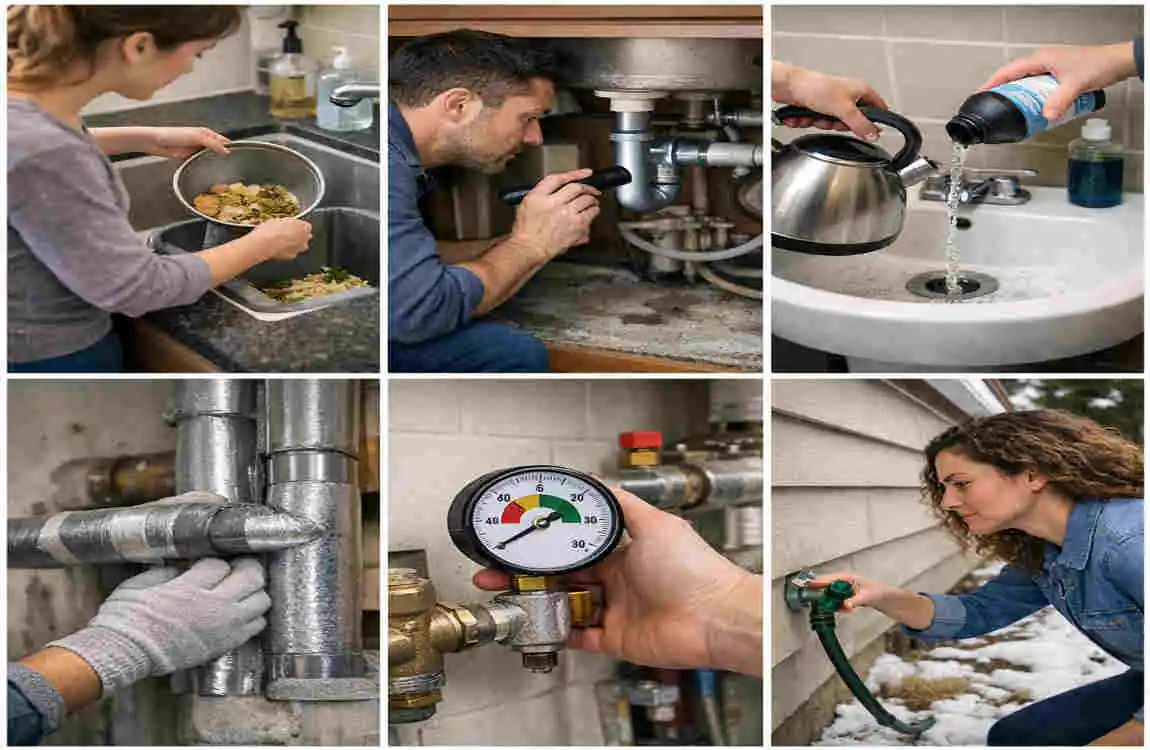
Handle leaks early
Small leaks may not seem serious, but they can waste water and cause damage over time. Fix them as soon as you notice them.
Be careful with what goes down drains.
Toilets and sinks are not built for everything. Avoid flushing or washing down things like wipes, grease, food scraps, or other materials that can clog pipes.
Use drain strainers
A simple strainer in the kitchen or bathroom can catch hair, food bits, and debris before they enter the drain. That small step can prevent many clogs.
Protect pipes in cold weather.
If your home gets very cold, insulation can help protect exposed pipes from freezing. Frozen pipes can burst and cause major water damage.
Teach the whole household.
Everyone in the home should know the basics:
- Where the main shut-off is
- What should not go down the drains
- How to spot a leak
- When to ask for help
DIY or professional?
Simple jobs like tightening a loose faucet or clearing a small drain may be fine for DIY. But call a professional if you have:
- Major leaks
- Sewer smells
- Repeated clogs
- Low pressure throughout the house
- Hidden pipe damage
Knowing when to stop and call for help can save you money and stress.
FAQ: How to Organise Plumbing and Maintain It
How do I organise plumbing in an older home?
Start by identifying the existing pipes, valves, and fixture lines. Older homes may have mixed plumbing systems, so take time to map what is already there before making changes.
How can I label my plumbing pipes?
Use simple, durable labels that show what each pipe or valve does. Include notes like main shut-off, kitchen sink, or hot water line.
Where should plumbing tools and spare parts be stored?
Store them in a dry, accessible place away from moisture and chemicals. A labelled utility box or cabinet works well.
How often should I inspect my home plumbing?
A quick monthly visual check is a good habit. You can also do a more detailed review a few times a year.
How do I organise plumbing under a kitchen or bathroom sink?
Keep the area clear, avoid clutter, and leave room to reach valves and pipes. Do not overload the space with cleaning supplies.
Should I make a plumbing map for my house?
Yes. A plumbing map is very helpful during leaks, repairs, or emergencies. It saves time and reduces guesswork.
When should I call a professional plumber?
Call a plumber for major leaks, sewer issues, hidden pipe problems, or recurring issues. If a repair feels too big or uncertain, it is safer to get expert help.
| Organization Tip | What to Do | Main Benefit |
|---|---|---|
| Label Pipes | Mark water lines and valves clearly. | Easy identification |
| Group Supplies | Keep fittings, tapes, and tools together. | Saves time |
| Create a Plumbing Map | Record pipe routes and shut-off locations. | Faster repairs |
| Keep Cabinets Clear | Avoid blocking pipes under sinks. | Better access |
| Store Spare Parts | Keep common washers, seals, and connectors handy. | Quick fixes |
| Check for Leaks | Inspect pipes and connections regularly. | Prevents water damage |
| Know Shut-Off Valves | Clearly mark the main and fixture valves. | Faster emergency response |
