

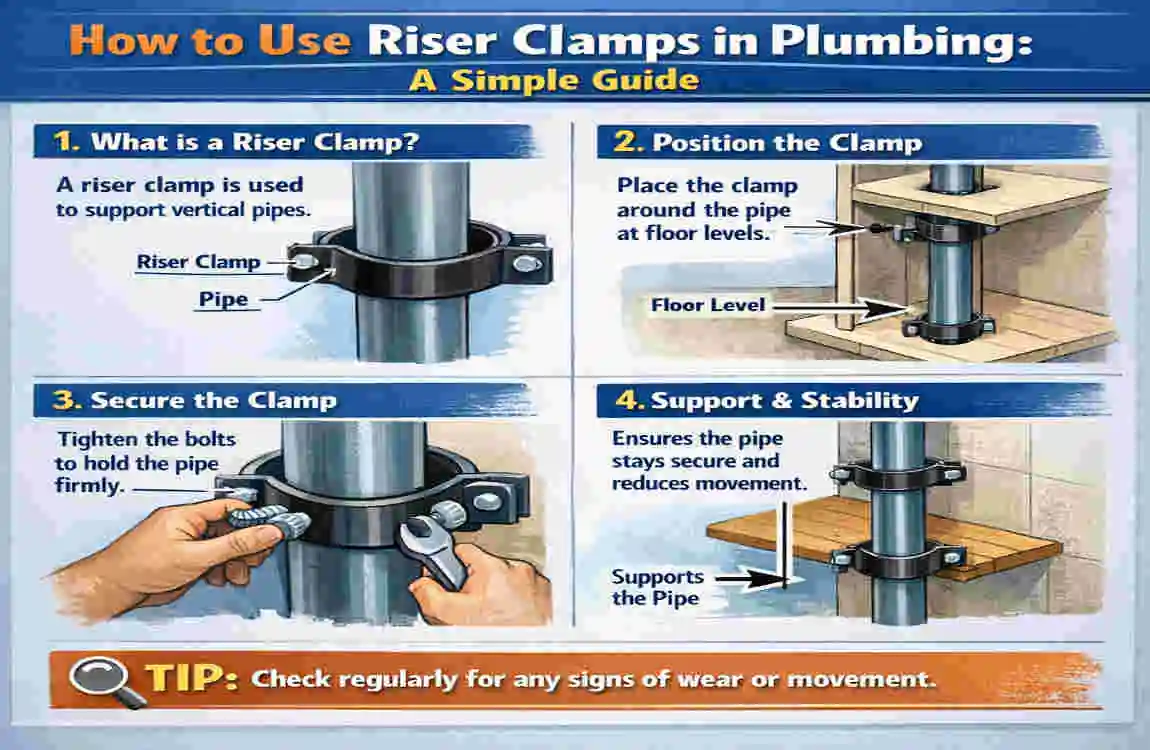
If you are working on a vertical pipe, a riser clamp can make the job much safer and more stable. In simple terms, it is a support device that holds the weight of a pipe and transfers that load to the building structure. This helps keep the pipe straight, steady, and properly supported.
What Is a Riser Clamp and Why Is It Used?
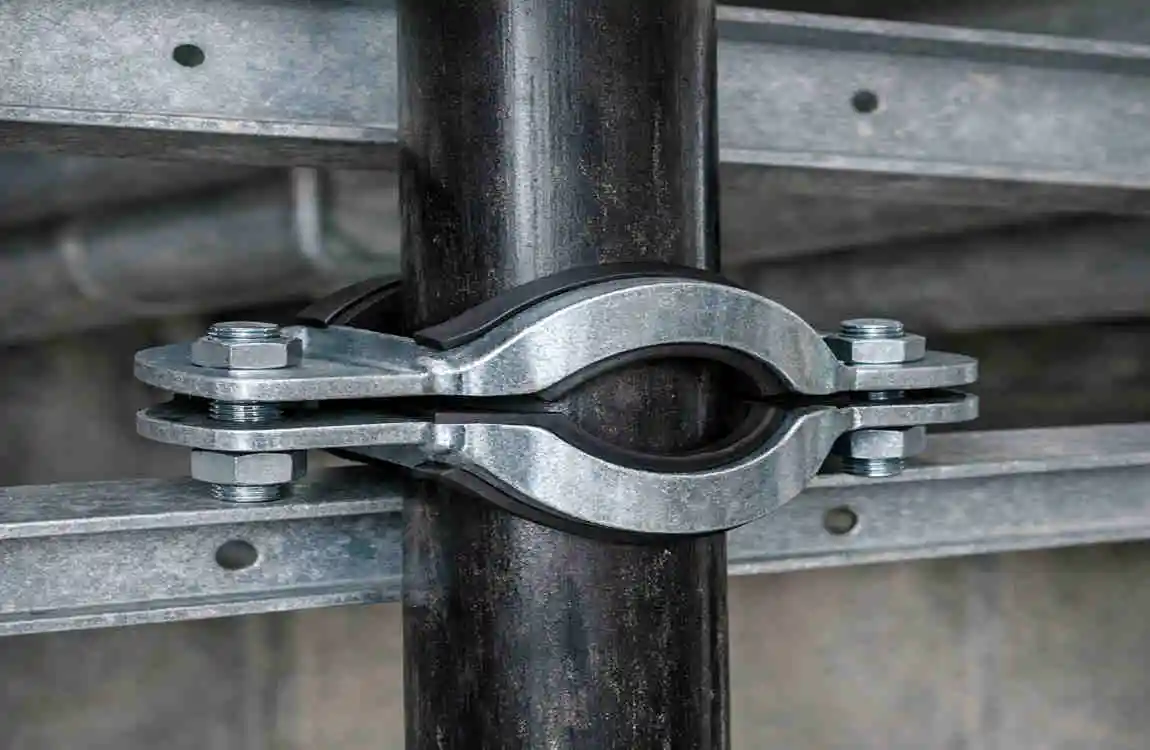
A riser clamp is a strong metal clamp that fits around a vertical pipe. Its main job is to support the pipe’s weight so the pipe does not pull downward on joints or fittings.
How Riser Clamps Work
The clamp wraps around the pipe and connects to a rod, bracket, or other structural support. This allows the pipe’s weight to be transferred safely into the building frame rather than resting solely on the pipe joints. That is important because vertical pipes can become heavy once filled with water.
Common Plumbing Applications
Riser clamps are commonly used for:
- Vertical water supply pipes
- Drain and waste lines
- Copper, steel, and cast iron piping
- Commercial and residential plumbing systems
They are especially helpful when a pipe must rise through floors or walls and requires steady support along the way.
Benefits of Using Riser Clamps
A proper riser clamp installation offers several benefits:
- Reliable support for vertical pipes
- Less pipe movement and sagging
- Lower stress on fittings and joints
- More stable plumbing installation
In short, riser clamps help keep the system strong, neat, and long-lasting.
How to Choose the Right Riser Clamp
Choosing the right clamp matters just as much as installing it correctly. A clamp that is too small, too large, or made for the wrong material can cause problems later.
Check the Pipe Size
Start by measuring the outside diameter of the pipe. The clamp must match that size closely. If it does not fit properly, it may not hold the pipe safely.
Consider Pipe Material
Not all clamps work with all pipes. Make sure the clamp is suitable for the pipe material, whether it is copper, steel, or cast iron. Also check that the clamp is designed for the type of plumbing work you are doing.
Check Load and Building Requirements
Think about how much weight the pipe will carry. A pipe full of water weighs more than an empty one. Also, follow local plumbing codes and the manufacturer’s instructions, since support rules can vary by project.
Select the Correct Hardware
A riser clamp is only as strong as the hardware holding it in place. You may need:
- Bolts
- Threaded rods
- Brackets
- Secure structural attachment points
How to Use Riser Clamps in Plumbing: Step-by-Step
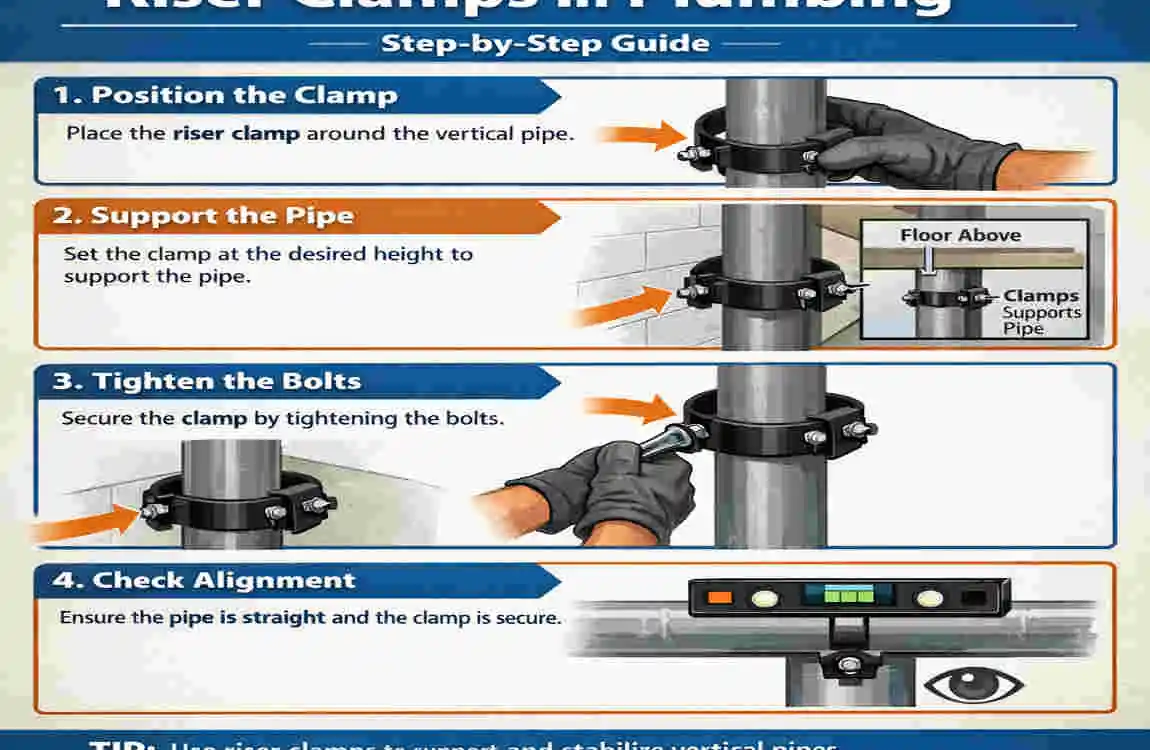
Now let’s look at the basic installation process. If you want to know how to use riser clamps in plumbing, follow these steps carefully.
Inspect and Measure the Pipe
First, check the pipe location, size, and vertical alignment. Make sure the pipe is in the right position before you install the clamp. A quick measurement now can save time later.
Position the Riser Clamp
Place the clamp around the pipe at the needed support point. It should sit evenly and should not pinch or damage the pipe. The goal is to support the pipe, not stress it.
Attach the Clamp to the Structure
Connect the clamp to a strong support point in the building. This might be a beam, bracket, or approved structural member. Do not attach heavy pipe loads to weak surfaces that cannot handle the weight.
Tighten the Clamp
Tighten the clamp hardware until it is secure. Be careful not to over-tighten it. Too much pressure can damage the pipe or make future movement difficult. The pipe should remain straight and properly aligned.
Check the Installation
After installation, inspect the clamp and the pipe. Look for movement, poor alignment, or loose hardware. Make sure the support feels solid and meets the system’s needs.
Common Riser Clamp Installation Mistakes to Avoid
Even a small mistake can reduce the strength of the installation. Here are some common problems to watch out for:
- Using the wrong clamp size
- Supporting the pipe on weak material
- Over-tightening the clamp
- Placing supports too far apart
- Ignoring pipe expansion or movement
- Skipping local plumbing code requirements
- Using damaged or mismatched hardware
These mistakes can lead to pipe stress, noise, movement, or long-term damage.
Riser Clamp Maintenance and Plumbing Safety Tips
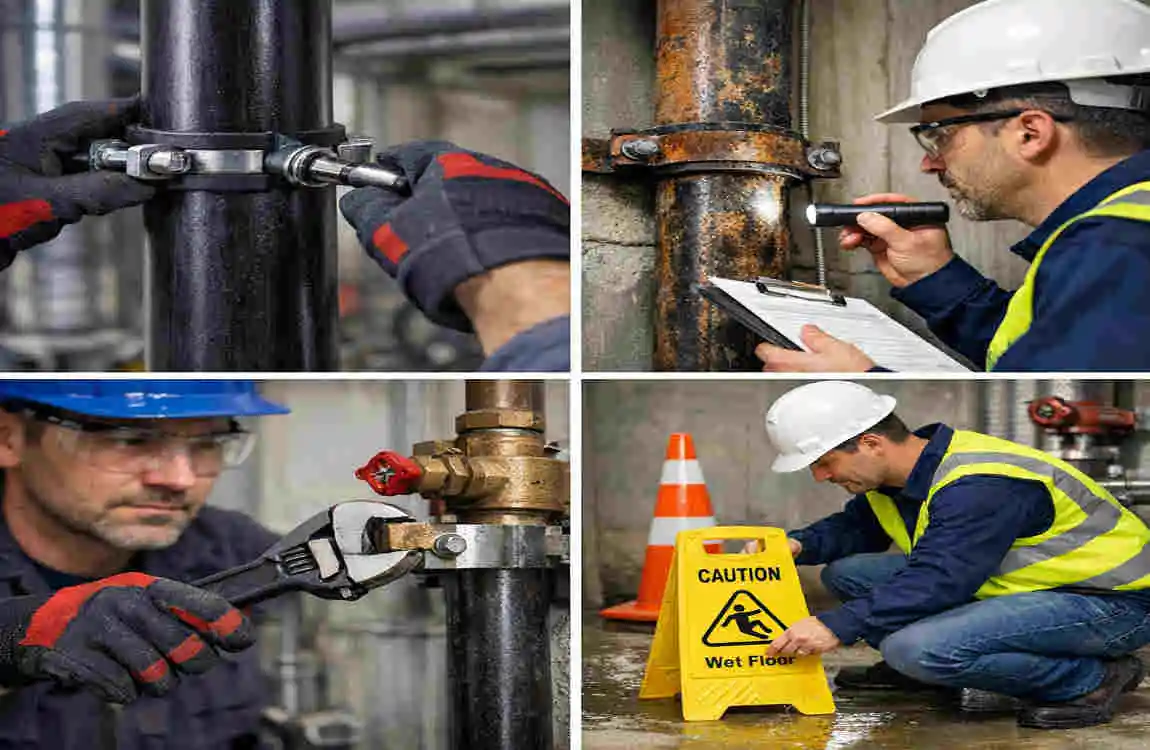
A good installation is important, but regular checks are just as useful. Over time, building movement, moisture, or corrosion can affect pipe supports.
Inspect Clamps Regularly
Look for rust, loose bolts, or visible wear. If a clamp looks damaged, it should be repaired or replaced quickly.
Check Pipe Movement
Make sure the pipe stays properly aligned and does not wobble or drop. Any unusual movement may mean the support needs attention.
Protect Against Corrosion
Use compatible materials whenever possible. In damp areas, corrosion protection may also help extend the life of the clamp and hardware.
When to Call a Professional
Call a plumber or licensed contractor if the system is large, heavy, or complex. Professional help is also a smart choice when the pipe run must meet strict code or safety rules.
Frequently Asked Questions About Riser Clamps
What is a riser clamp used for in plumbing?
A riser clamp supports the weight of a vertical pipe and helps transfer that load to the building structure.
How do you install a riser clamp on a vertical pipe?
You measure the pipe, place the clamp around it, attach it to a strong support point, tighten it securely, and then check the installation.
How tight should a riser clamp be?
It should be secure enough to hold the pipe firmly, but not so tight that it damages the pipe or hardware.
Where should riser clamps be installed?
They should be installed where the pipe needs support, usually at structural points that can safely carry the load.
Can riser clamps be used on all types of plumbing pipes?
No. Compatibility depends on the pipe material, pipe size, clamp design, and the type of plumbing system.
| Step | What to Do | Key Tip |
|---|---|---|
| Choose the Clamp | Select a riser clamp that matches the pipe size and material. | Check the manufacturer’s load rating. |
| Position the Clamp | Place the clamp around the vertical pipe at the required support point. | Keep it level and properly aligned. |
| Secure the Clamp | Tighten the clamp bolts evenly around the pipe. | Avoid overtightening, which can damage the pipe. |
| Attach to Structure | Connect the clamp to the building structure using suitable hardware. | Make sure the supporting structure can handle the load. |
