

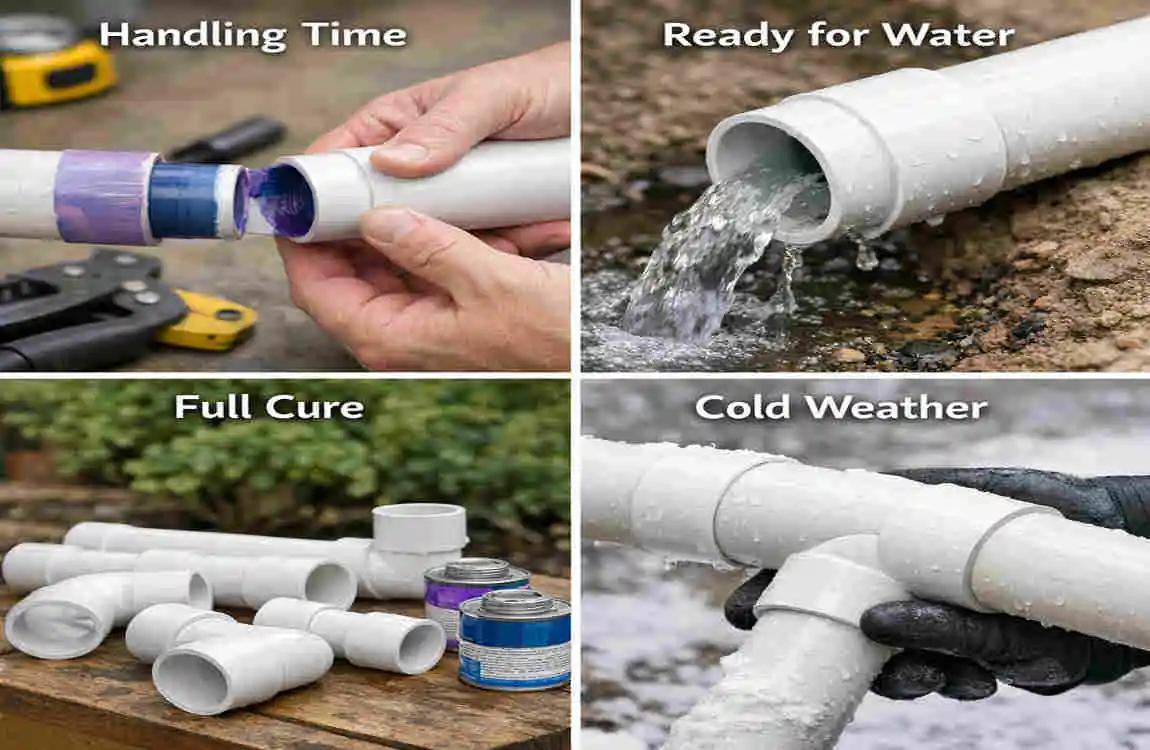
If you are asking how long plumbing glue takes to dry, the short answer is: it depends on the product, pipe size, and your conditions. In many cases, the joint may feel set fairly quickly, but full curing can take much longer.
That is important because plumbing glue is not regular glue. It is usually PVC or CPVC solvent cement, which softens the pipe surface and bonds the pieces together. That means the joint needs enough time to strengthen before water or pressure is applied to it.
If you turn the water on too soon, the joint can fail. So even though the outside may look dry, the inside may still be curing. That is why it helps to understand the difference between drying time and curing time before you start using the pipe.
How Long Does Plumbing Glue Take to Dry?
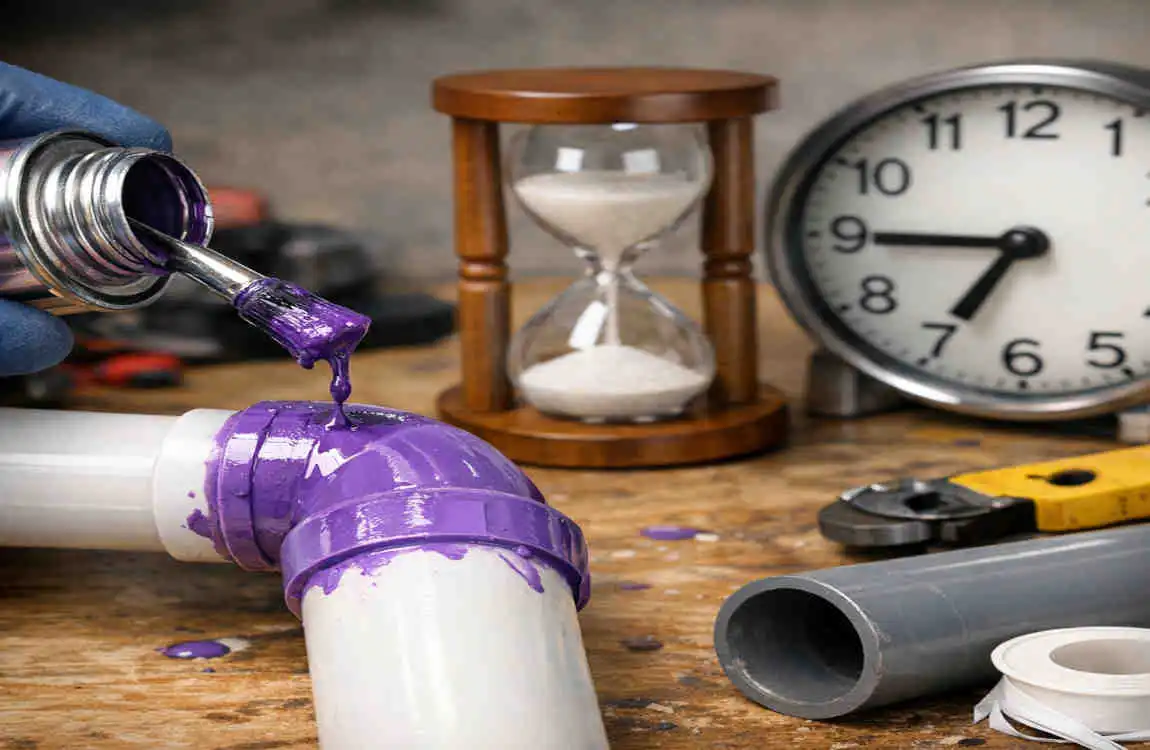
In general, small PVC or CPVC joints may be ready in a few hours under good conditions, while larger pipes or colder weather can require much longer. Some jobs may need only a short wait, but others may need a full day or more.
The safest approach is always to follow the manufacturer’s cure chart for the exact cement you are using. That chart provides the best answer for your pipe size, temperature, and pressure.
What Is Plumbing Glue and How Does It Work?
What is PVC plumbing glue?
Plumbing glue is often called PVC cement, but it is not really glue in the usual sense. It is a solvent cement. That means it softens the plastic surface so the pipe and fitting bond together as one strong joint.
This is why clean, proper application matters so much. The cement has to work with the plastic surface itself.
PVC vs. CPVC glue
PVC and CPVC are similar but not the same. PVC is commonly used in many general plumbing jobs, while CPVC is made for different temperature and use conditions.
The important thing is to use the correct cement for the pipe type. Using the wrong product can weaken the joint or cause leaks later.
Is primer always necessary?
Not always, but often it is. Primer prepares the pipe surface so that the cement can bond more effectively.
Some products or local plumbing rules may require primer. Others may not. The safest choice is to check the product label and follow local plumbing guidance.
Drying Time vs. Curing Time: What’s the Difference?
What does “dry” mean?
When people say plumbing glue is dry, they usually mean the joint is no longer wet on the outside. It may look and feel set.
But that does not always mean it is ready for pressure or water flow.
What does “cured” mean?
Curing is the process by which solvent cement hardens and forms a solid bond. A joint can look dry long before it is fully cured.
That is why the real question is not just how long plumbing glue takes to dry, but also how long it needs to cure before use.
Why full cure matters
If you use the pipe too early, you can run into problems such as:
- Leaks
- Weak joints
- Joint separation
- Plumbing failure under pressure
For that reason, do not rely only on touch. Always use the recommended cure time for your exact setup.
Factors That Affect How Long Plumbing Glue Takes to Dry
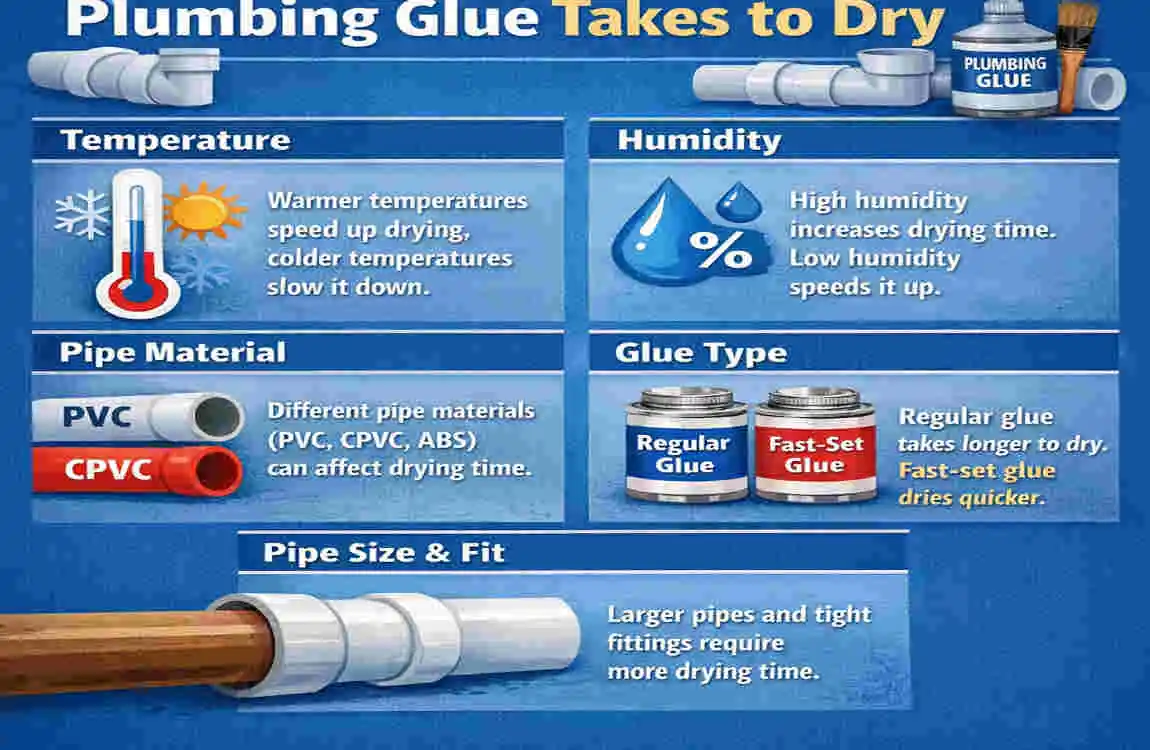
Temperature
Temperature has a big effect on cure time. In warm conditions, the solvent evaporates faster, so the joint usually sets sooner.
In cold weather, the process slows down. That means the glue may need far more time before the pipe is safe to use.
Humidity and moisture
Damp air can slow the process too. If the area is humid, curing may take longer than expected.
Also, the pipe and fitting should be clean and dry unless the product specifically says it can be used on wet surfaces.
Pipe size and joint type
Larger pipes need more time because they hold more solvent and may take longer to bond fully. Different fittings can also affect cure time.
A small drain line and a large pressure line do not need the same drying period.
Ventilation
Good airflow helps the solvent evaporate. Poor airflow may slow the process.
This is one reason indoor plumbing jobs in tight spaces can take longer to cure than work done in open, airy conditions.
Type and brand of cement
Not all plumbing cements are the same. Some are designed for fast work, while others are made for heavier-duty jobs and need longer cure times.
Always check the label. The product instructions matter more than a general estimate.
Water pressure
If the plumbing will carry pressure, the joint needs enough time to become strong. Pressurised systems are less forgiving than simple drain lines.
That is why pressure testing too early is a mistake.
How to Properly Apply Plumbing Glue
Cut and prepare the pipe.
Cut the pipe cleanly and squarely. A rough or angled cut can weaken the fit.
Remove burrs and loose bits from the edge so the pieces fit together properly.
Clean the surfaces
The pipe and fitting should be free from dirt, dust, grease, and moisture. A clean surface gives the cement a better chance to bond well.
This step may seem small, but it matters a lot.
Apply primer when required.
If your product or local code requires primer, use it before the cement. Primer helps soften and prepare the plastic.
Do not skip this step unless the product directions clearly allow it.
Apply the solvent cement.
Use an even layer of cement on the right surfaces. Do not pile it on too heavily.
Too much cement can be messy and may not improve the bond.
Join the pipe and fitting.
Push the pipe and fitting together firmly. If the product instructions say to twist slightly, do that right away and only as directed.
Hold the joint steady for a short time so it does not slip apart.
Let it cure
This is the step many people rush. Give the joint the full cure time it needs.
If you want a strong, leak-free result, patience is important here.
Helpful checklist before turning the water back on
- Did you use the correct cement?
- Were the surfaces clean and dry?
- Was primer used if needed?
- Did you hold the joint properly?
- Did you wait the full recommended cure time?
- Was the system exposed to the right temperature and pressure conditions?
Common Mistakes When Using Plumbing Glue
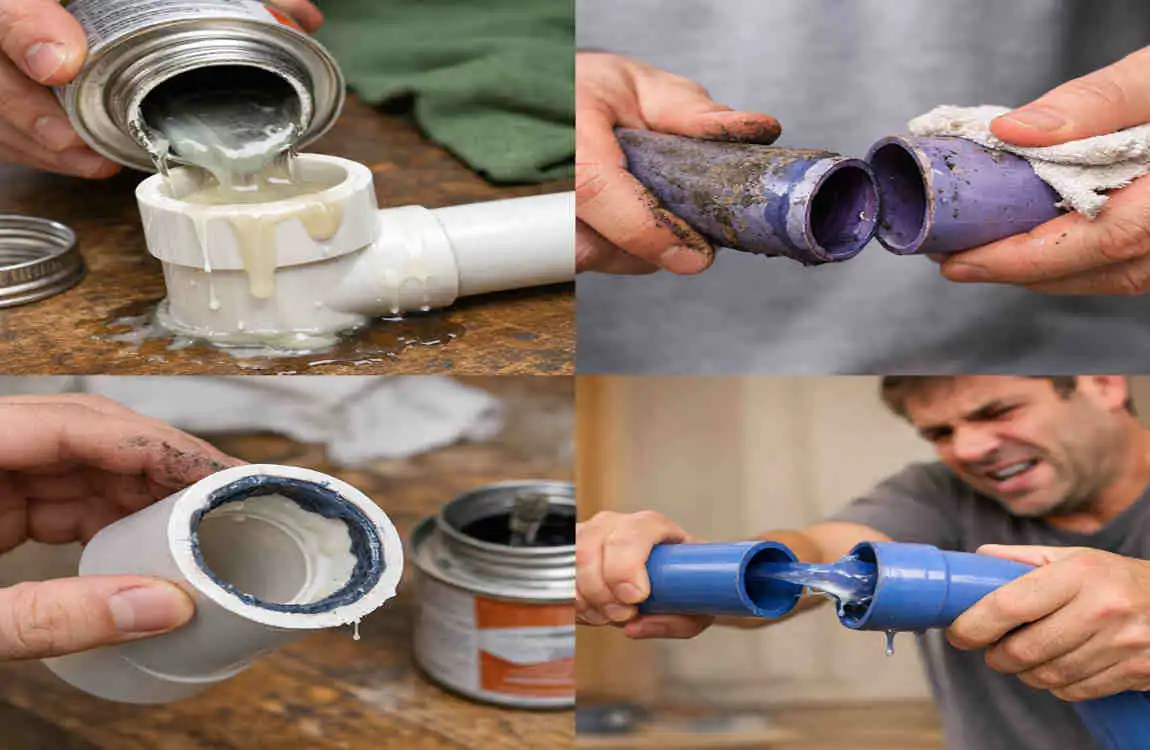
Turning the water on too soon
This is one of the biggest mistakes. Even if the joint looks dry, it may not be ready for pressure.
Using the wrong solvent cement
PVC and CPVC are not interchangeable. Using the wrong product can cause a weak bond.
Applying glue to dirty or wet surfaces
Dirt and moisture can stop the cement from working correctly. Clean prep is essential.
Using too much or too little cement
A light, even coat is usually best. Too much or too little can both create problems.
Skipping primer when required
If the job calls for primer, do not ignore it. Primer helps create a stronger joint.
Failing to hold the joint together properly
The pipe and fitting need to stay in place during the first moments after joining. Movement can weaken the bond.
Ignoring temperature and pipe-size rules
A cure time that works for a small pipe in warm weather may not work for a large pipe in cold weather.
Pressure testing too soon
Testing before the joint is ready can lead to leaks or joint failure.
Frequently Asked Questions About Plumbing Glue
How long does plumbing glue take to dry?
It depends on the product and conditions. Some joints may feel dry fairly quickly, but full curing can take much longer. Always follow the cement’s instructions.
How long should PVC glue sit before turning on water?
There is no single answer. It depends on pipe size, temperature, humidity, and pressure. The manufacturer’s cure chart is the best guide.
Can you use PVC glue when the pipe is wet?
Usually, clean and dry surfaces are best. Some special products may work in wet conditions, but you should not assume that without checking the label.
Can you speed up the drying of plumbing glue?
You should not force it. The safest way is to work in the right conditions and follow the product’s instructions. Rushing can weaken the joint.
How long does PVC glue take to cure completely?
It can range from a few hours in good conditions to much longer in cold or difficult conditions. Larger pipes and higher pressure usually need more time.
Can you pressure-test PVC immediately after gluing?
No, not usually. You should wait for the recommended cure time first so the joint can strengthen properly.
What happens if plumbing glue is not fully cured?
You may get leaks, weak joints, or pipe failures in a pressurised system, which can quickly become a serious problem.
Does cold weather affect PVC glue?
Yes, very much. Cold temperatures slow curing and may require a much longer wait before the pipe can be used.
| Factor | Typical Time | Quick Tip |
|---|---|---|
| Initial set time | 10–30 minutes | Avoid moving the joint |
| Handling time | 30–60 minutes | Keep pressure off the connection |
| Full cure | 12–24 hours | Best before regular use |
| Cold temperatures | Longer | Allow extra curing time |
| Large pipes/joints | Longer | Follow the product instructions |
| High water pressure | Wait longer | Ensure the joint is fully cured first |
| Best practice | 24 hours | When unsure, give it a full day |
