

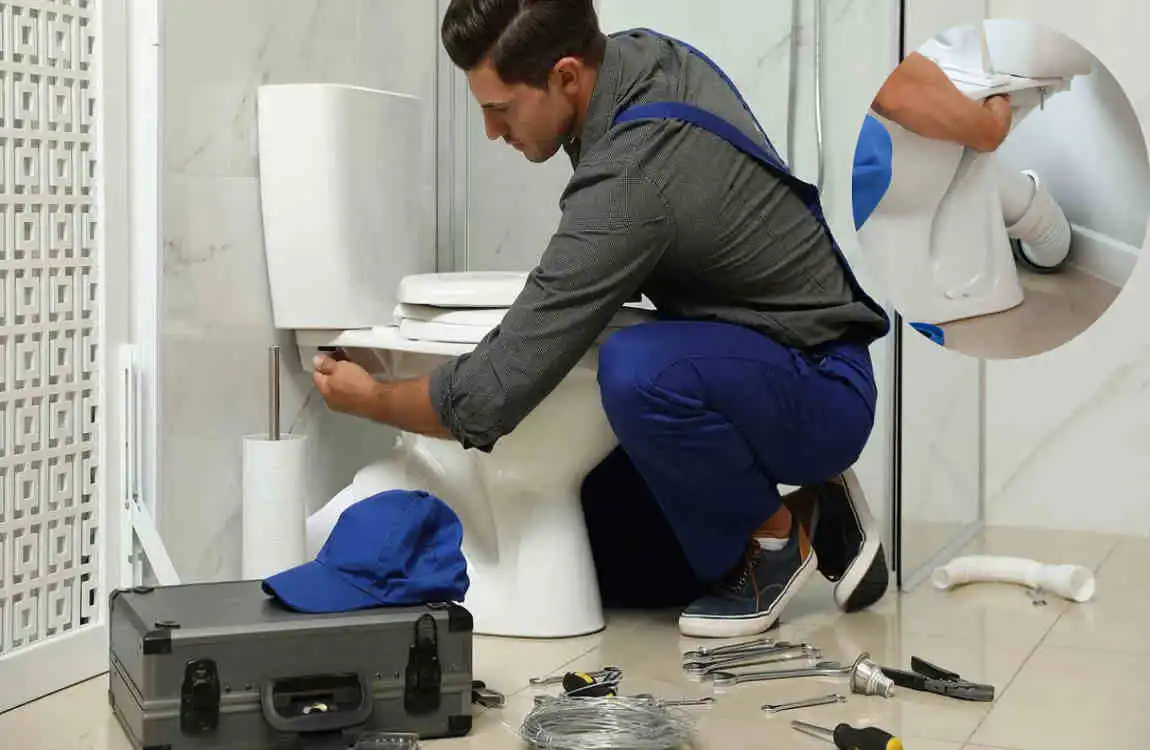
Learning how to plumb toilet systems can seem complicated at first, but understanding the basic connections makes the process much easier. A toilet needs two main plumbing systems: a fresh-water supply and a waste drainage system.
The supply line fills the toilet tank, while the drain carries wastewater away from the bowl. Proper venting also helps the drainage system work smoothly and reduces the risk of sewer-gas problems.
What Does Toilet Plumbing Involve?
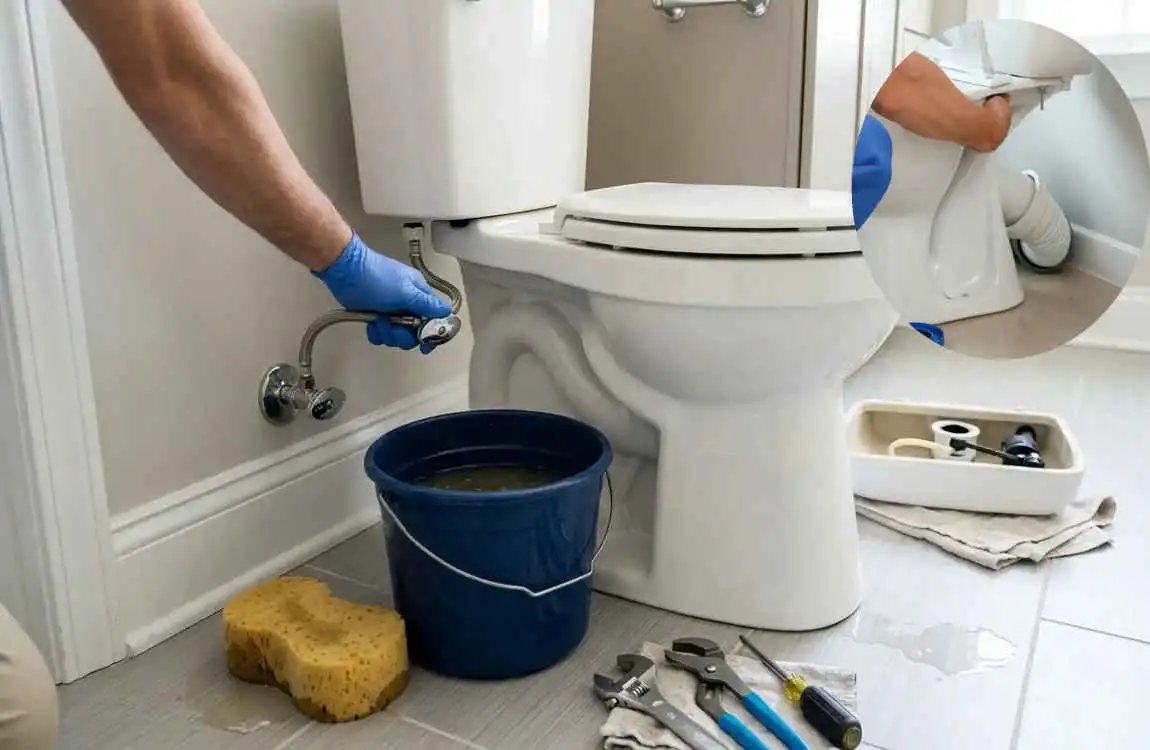
Toilet plumbing connects the fixture to your home’s water supply, drainage, and vent system. Each part has a specific job.
Toilet Drain and Waste Pipe
The toilet drain pipe carries wastewater from the bowl into the home’s main drainage system. The toilet sits over a toilet flange, which provides the connection between the fixture and drainpipe.
The drain must be correctly aligned and properly supported. Poor alignment can create leaks or drainage problems.
Toilet Water Supply Line
The toilet water supply line brings clean water from the home’s plumbing system to the toilet tank. A shutoff valve allows you to stop the water when repairs or maintenance are needed.
A flexible supply line is commonly used because it is easy to connect and replace.
Toilet Vent Pipe
The toilet vent pipe helps balance air pressure inside the drainage system. Proper venting allows wastewater to flow efficiently and helps prevent unpleasant sewer odors from entering the bathroom.
Venting requirements can vary, so always follow your local plumbing regulations.
Tools and Materials Needed
Before starting your toilet plumbing installation, gather the necessary tools and supplies.
Tool or Material Main Purpose
Adjustable wrench Tightening connections
Screwdriver Installing fittings
Measuring tape Checking pipe locations
Level Checking toilet position
Bucket and towels Handling water
Toilet flange Connecting toilet to drain
Toilet seal Creating a watertight seal
Supply line Connecting water
Shutoff valve Controlling water supply
PVC/ABS pipe Waste drainage
Having everything ready before you begin can save time and prevent unnecessary interruptions.
Toilet Plumbing Diagram
A basic toilet plumbing route looks like this:
Water Supply → Shutoff Valve → Supply Line → Toilet Tank → Bowl → Trap → Waste Pipe → Main Drain
The venting route works separately:
Toilet Drain → Vent Connection → Plumbing Vent → Outside
The water side supplies fresh water, while the waste side removes wastewater. The vent system supports proper drainage and helps control pressure and sewer gases.
How to Size a Toilet Drain Pipe
The correct toilet drain pipe size depends on the plumbing design and local code requirements. Toilets generally require a larger drainage connection than many smaller bathroom fixtures because they handle both water and solid waste.
Pipe diameter, drainage slope, venting, and fixture arrangement all affect performance. Using an incorrectly sized pipe can contribute to poor drainage and blockages.
For new construction or major remodeling, check your local plumbing requirements before installing the pipe.
How to Vent a Toilet Properly
Why Toilet Venting Matters
Proper venting helps wastewater move smoothly through the drain system. It also helps prevent pressure problems and reduces the chance of sewer gases entering the bathroom.
Common Venting Methods
Depending on the plumbing layout and local regulations, a toilet may use:
- Individual venting
- Wet venting
- Connection to an existing vent system
The correct method depends on the entire bathroom plumbing design.
Common Venting Mistakes
Incorrect pipe sizing, poor routing, improper connections, and ignoring local codes can all create problems. Slow drainage and recurring odors may indicate an issue with the vent or drainage system.
How to Plumb a Toilet in a New Bathroom
New bathroom plumbing requires more planning than simply replacing an existing toilet.
First, map the locations of the toilet, sink, shower, water lines, drain lines, and vents. Plan the drainage system before installing the finished flooring or fixtures.
Also make sure important shutoff valves and connections remain accessible. Good planning makes future repairs much easier.
How to Plumb a Toilet on a Concrete Floor
Concrete floors can make toilet plumbing more challenging because accessing or relocating a drain may require cutting into the slab.
Before doing any work, locate the existing drain and carefully measure the toilet position. The flange must be firmly secured to provide a stable mounting point.
If the project requires significant concrete cutting or the relocation of a main drain, professional plumbing assistance is recommended.
How to Plumb a Toilet on a Wood Floor
With a wood floor, the flange needs to be securely attached to the subfloor. The floor should be strong and level enough to support the toilet.
Before installation, check for water damage, soft flooring, or movement. Installing a toilet over damaged flooring can lead to instability and future leaks.
Common Toilet Plumbing Problems
Problem Possible Cause Basic Solution
Leak at base Damaged seal or flange Replace seal and reseat toilet
Weak flushing Blockage or drainage issue Inspect drain
Toilet rocks Uneven floor Level and secure toilet
Sewer smell Seal or vent problem Inspect seal and vent
Slow drainage Partial blockage Check drain
Supply-line leak Loose connection Tighten or replace line
A leak around the base should not be ignored. Water can slowly damage flooring and create more expensive repairs.
A rocking toilet can also damage the seal over time. If tightening the mounting bolts does not solve the problem, check the floor and flange.
Common Mistakes When Plumbing a Toilet
Installing the Flange at the Wrong Height
The flange needs to be positioned correctly relative to the finished floor. Incorrect height can prevent the toilet seal from working properly.
Forgetting Proper Venting
Poor venting can contribute to slow drainage, pressure problems, and unpleasant odors.
Overtightening Connections
More force does not always mean a better connection. Overtightening can damage fittings, bolts, or the porcelain toilet.
Using the Wrong Seal
Choose a toilet seal that is appropriate for the fixture and installation. Follow the manufacturer’s installation instructions.
Ignoring Leaks During Testing
Always test the toilet several times after installation. Look carefully around the base and every water connection.
Ignoring Local Plumbing Codes
Plumbing requirements vary by location. A seemingly simple project may still require specific pipe sizes, vent arrangements, inspections, or permits.
DIY Toilet Plumbing vs. Hiring a Plumber
Some toilet projects are suitable for experienced DIY homeowners. Replacing an existing toilet, changing a supply line, or replacing a toilet seal may be manageable when the existing plumbing is in good condition.
However, professional help is a better choice when you need to move a toilet, install new drain lines, modify vents, cut concrete, or solve recurring sewer problems.
If you are unsure about the drainage or vent system, getting professional advice can prevent costly mistakes.
How Much Does It Cost to Plumb a Toilet?
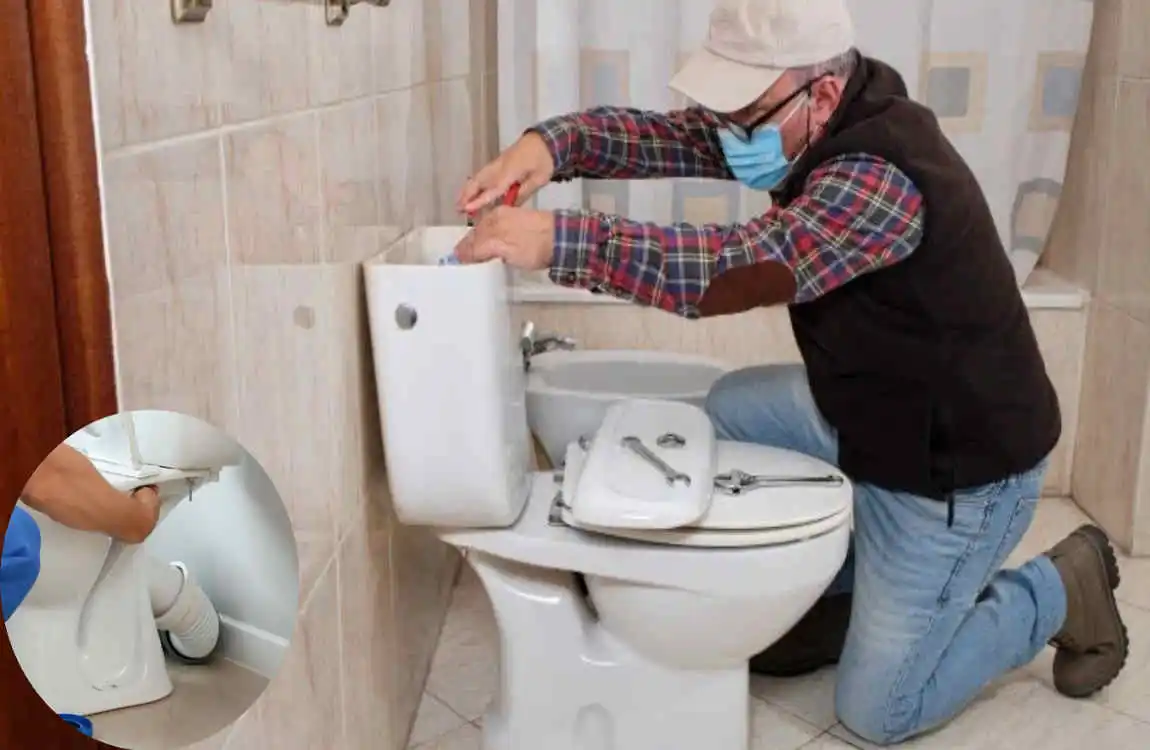
The cost of toilet plumbing installation depends heavily on the project.
A simple toilet replacement using existing plumbing is usually much less complicated than installing a new toilet in a different location. Costs can increase when you need new drainpipes, vent modifications, flooring work, permits, or extensive labor.
The main cost factors include:
- Toilet type
- Plumbing materials
- Labor
- Drain relocation
- Vent modifications
- Flooring repairs
- Local permit requirements
For this reason, it is better to get a project-specific estimate rather than relying on one fixed price.
How Long Does Toilet Plumbing Take?
A basic toilet replacement can be relatively quick when the drain, flange, and water supply are already in good condition.
New toilet plumbing takes longer because the installer may need to work on drainage, venting, flooring, and water lines. Hidden plumbing problems can also extend the project.
The more extensive the plumbing changes, the more time the project will normally require.
Tips for Maintaining Toilet Plumbing
Good maintenance can help you avoid expensive plumbing repairs.
- Do not flush unsuitable items that can clog the drain.
- Check for leaks around the toilet base and supply line.
- Keep the shutoff valve accessible.
- Deal with slow flushing before it becomes a major blockage.
- Avoid excessive force when tightening plumbing connections.
- Have recurring sewer odors or drainage problems professionally inspected.
Frequently Asked Questions About How to Plumb a Toilet
Can I plumb a toilet myself?
Yes, basic toilet replacement can often be handled by an experienced homeowner when the existing plumbing is suitable. New drainage or vent work is more complicated and may require a professional.
What pipe is used for toilet plumbing?
PVC and ABS are commonly used for toilet drainage, depending on local practices and plumbing requirements.
What size drain pipe does a toilet need?
The required size depends on local plumbing codes and the overall drainage design. Always confirm the requirements before installing new plumbing.
Does a toilet need a vent?
Proper toilet drainage generally requires an appropriate venting arrangement. Venting helps maintain proper air pressure and drainage performance.
How far can a toilet be from the main drain?
The allowable distance depends on pipe size, slope, venting arrangement, and local plumbing regulations. A plumber can help determine the correct layout.
Why does my toilet leak from the base?
A leak may result from a damaged seal, loose mounting, an incorrectly positioned flange, or floor problems.
Why does my newly installed toilet rock?
A toilet can rock because of an uneven floor, improper mounting, or an incorrectly positioned flange. The problem should be corrected rather than ignored.
| Step | What to Do | Key Tip |
|---|---|---|
| Prepare the Area | Turn off the water supply and remove the old toilet if necessary. | Keep towels and a bucket nearby for leftover water. |
| Install the Toilet Flange | Position the flange securely over the drain opening and fasten it to the floor. | Make sure it is level and properly aligned. |
| Fit the Wax Ring | Place a new wax ring or approved toilet seal on the flange. | Ensure the seal is centered to prevent leaks. |
| Set the Toilet | Carefully lower the toilet onto the flange and press down gently. | Avoid rocking the toilet after it contacts the seal. |
| Secure the Toilet | Tighten the flange bolts evenly and trim excess bolt length. | Do not overtighten, as porcelain can crack. |
