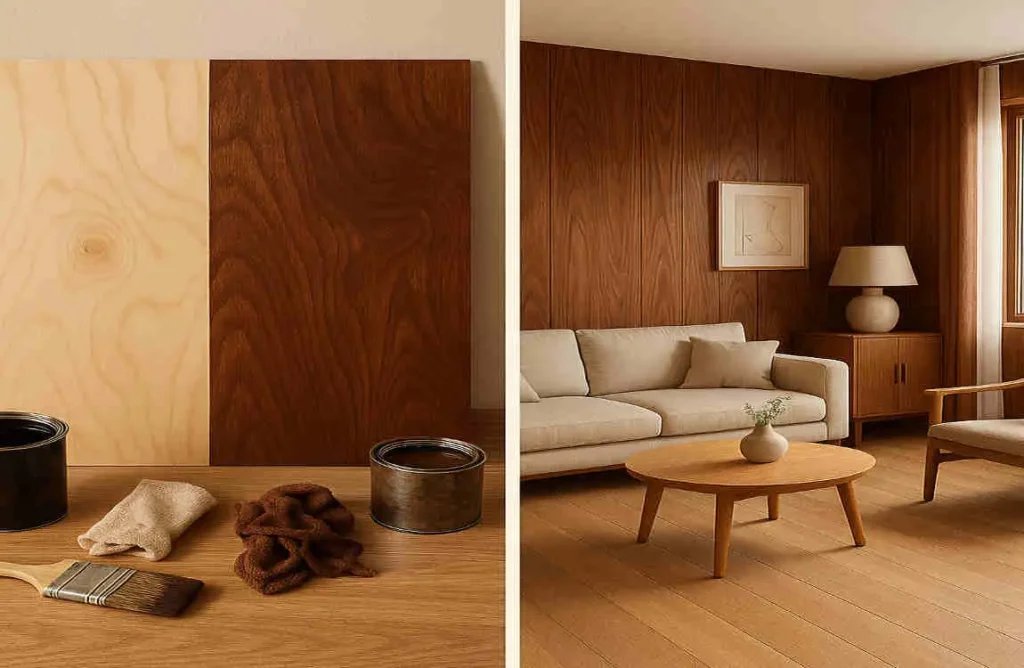
Staining house plywood is an essential skill for any home improvement enthusiast or DIY-er looking to add a touch of elegance and durability to their projects. When done correctly, staining can transform ordinary plywood into a beautiful, long-lasting surface that enhances the overall aesthetic of your home.
Understanding House Plywood

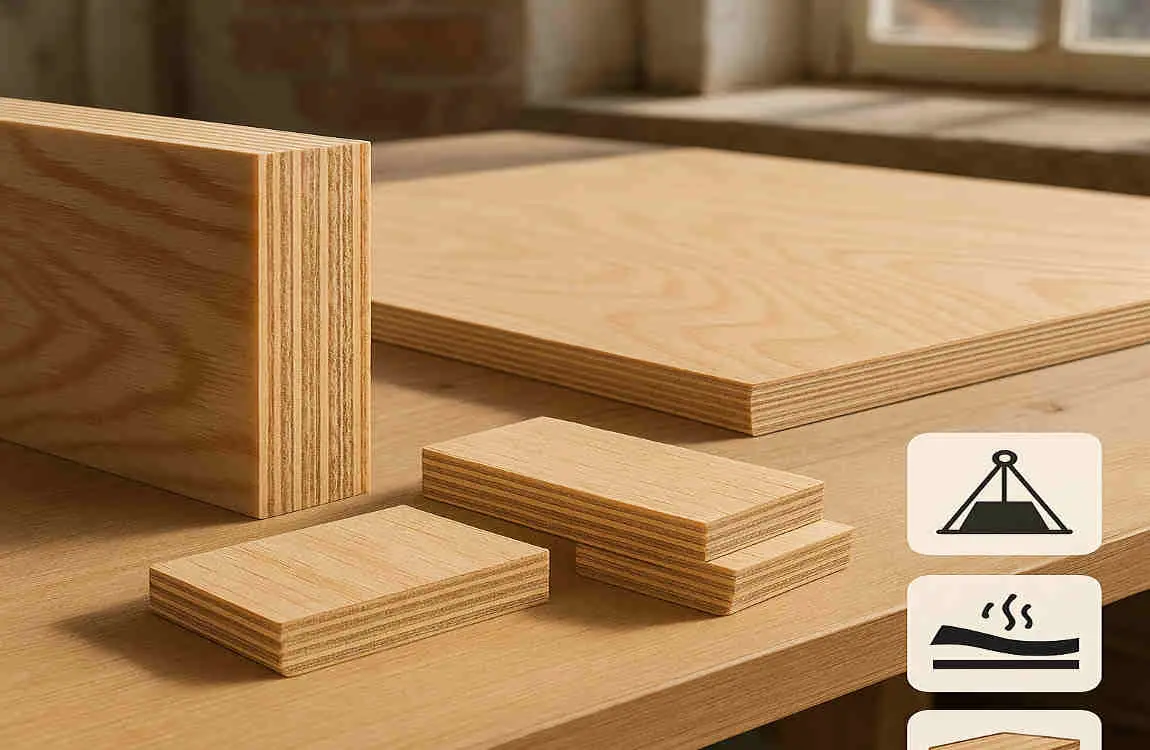
Before we dive into the staining process, it’s crucial to understand the characteristics of house plywood and how they affect the final outcome. House plywood comes in various types, each with its own unique properties that influence how it accepts stain.
Types of House Plywood
- CDX Plywood: This is the most common type of plywood used in house construction. It has a rough surface and is often used for subfloors and sheathing.
- Sanded Plywood: As the name suggests, this plywood has a smooth, sanded surface that is ideal for staining and finishing.
- Hardwood Plywood: Made with thin layers of hardwood veneer, this type of plywood is more expensive but offers a superior surface for staining.
Plywood Characteristics Affecting Stain Absorption
- Porosity: The more porous the plywood, the more stain it will absorb, resulting in a darker color.
- Grain: The direction and pattern of the wood grain can affect how evenly the stain is absorbed.
- Veneer Type: Softwood veneers like pine tend to absorb stain more readily than hardwood veneers, leading to a blotchier appearance if not adequately prepared.
Understanding these characteristics is key to choosing the proper plywood for your project and ensuring a professional-looking stain job.
Preparation: The Foundation for Professional Staining
Proper surface preparation is the foundation of any successful staining project. Skipping this crucial step can result in an uneven, blotchy, or otherwise unsatisfactory finish. Here’s how to prepare your house plywood for staining:
Sanding
You may also read (what is an adverse condition in home real estate).
- Start with a medium-grit sandpaper (60-80 grit) to remove any rough spots or imperfections.
- Progress to a finer-grit sandpaper (120-150 grit) to create a smooth surface that will absorb stain evenly.
- Always sand in the direction of the wood grain to avoid scratches and swirl marks.
Cleaning
- Use a vacuum or tack cloth to remove sanding dust and debris from the plywood surface.
- Wipe the surface with a damp cloth to remove any remaining dust, then allow it to dry completely.
Conditioning
- For softwood plywoods like pine, apply a pre-stain wood conditioner to help the stain absorb more evenly and prevent blotchiness.
- Follow the manufacturer’s instructions for application and drying times.
Protecting the Surrounding Areas
- Use drop cloths to protect floors and furniture from stains.
- Tape off any edges or areas you don’t want to be stained using painter’s tape.
By taking the time to properly prepare your house plywood, you’ll ensure a more even, professional-looking stain job that will stand the test of time.
Choosing the Right Stain for House Plywood
With so many stain options available, choosing the right one for your house plywood project can seem overwhelming. Here’s a breakdown of the most common types of stains and their pros and cons:
Oil-Based Stains
- Pros: Deeper penetration into the wood, richer color, and excellent durability.
- Cons: Longer drying times, more pungent odors, and more difficult cleanup.
Water-Based Stains
- Pros: Faster drying times, easier cleanup, and less odor.
- Cons: May raise the wood grain, requiring additional sanding, and may not penetrate as deeply as oil-based stains.
Gel Stains
- Pros: Thicker consistency for more control, ideal for blotchy woods like pine, and less likely to drip or run.
- Cons: Can be more challenging to apply evenly and may require more coats for full coverage.
When selecting a stain color, consider the overall look you want to achieve and the natural color of your plywood. It’s always a good idea to test your chosen stain on a scrap piece of plywood to preview the final color before committing to the entire project.
Techniques to Stain House Plywood Like a Pro
 You may also read (exploring the concept of rows in home real estate).
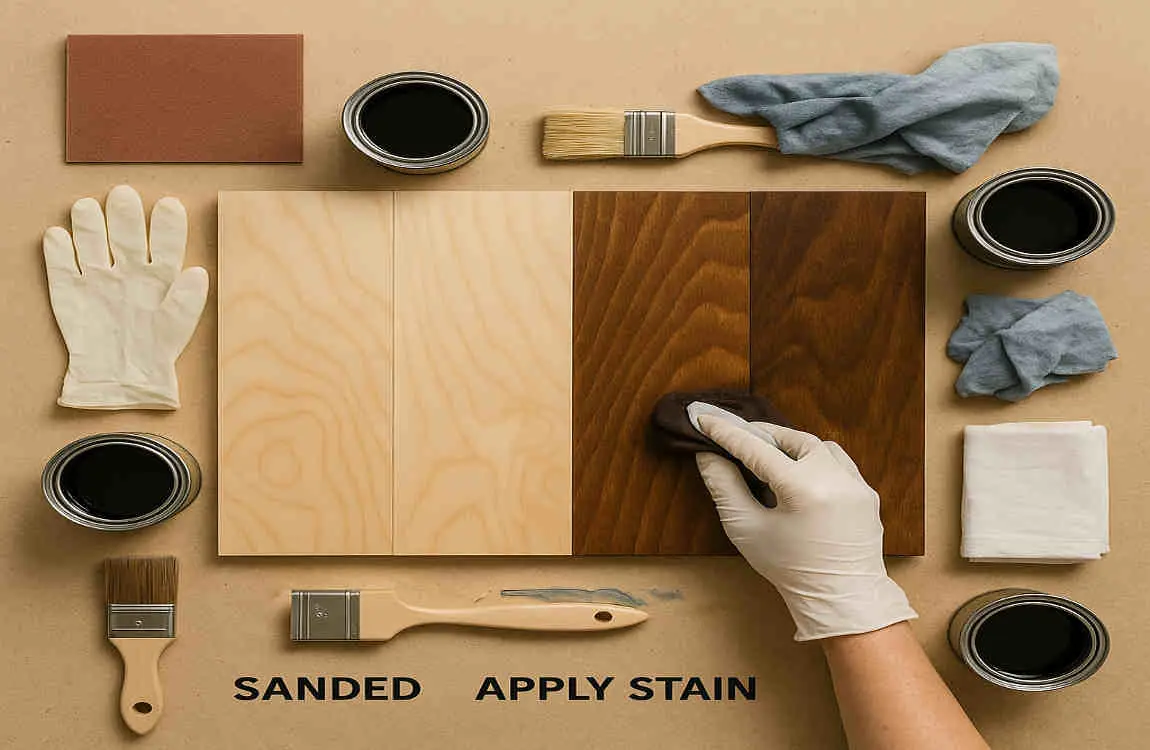
Now that you’ve chosen your stain and prepared your plywood surface, it’s time to apply the stain like a professional. Follow these step-by-step instructions for the best results:
Stirring the Stain
- Stir the stain thoroughly with a paint stirrer to ensure even pigment distribution.
- Avoid shaking the can, as this can create air bubbles that will affect the finish.
Application Tools
- Brushes: Natural bristle brushes for oil-based stains, synthetic bristle brushes for water-based stains.
- Rags: Lint-free cloths for wiping off excess stain and achieving a more rustic look.
- Foam Brushes: Inexpensive and disposable, these are great for applying stain in tight spaces or on intricate details.
Applying the Stain
- Work in small, manageable sections to avoid uneven drying.
- Apply the stain in long, even strokes, following the direction of the wood grain.
- Use a consistent amount of pressure to ensure even coverage.
- Wipe off any excess stain with a clean cloth, working in the direction of the grain.
- Allow the stain to dry according to the manufacturer’s instructions before applying additional coats, if desired.
Managing Common Issues
- Blotchy or Uneven Stains: Apply a pre-stain wood conditioner before staining to help the stain absorb more evenly.
- Applying Second Coats: If a darker color is desired, allow the first coat to dry completely before applying a second coat.
- Drying Times: Factors such as temperature, humidity, and stain type can affect drying times. Be patient and allow the stain to dry thoroughly before moving on to the next step.
When staining large plywood surfaces on houses, work in smaller, more manageable sections to maintain a wet edge and avoid lap marks. Remember, patience is key to achieving professional-looking results.
Finishing Touches: Protecting Your Stained Plywood
After staining your house plywood, it’s crucial to protect your hard work with a clear finish. This will help preserve the color, enhance the grain, and increase the overall durability of the stained surface.
Types of Finishes
- Polyurethane: A durable, long-lasting finish that comes in both oil-based and water-based formulas.
- Polycrylic: A water-based finish that dries quickly and has low odor, ideal for indoor projects.
- Varnish: A traditional finish that offers good protection and enhances the natural beauty of the wood.
Choosing a Sheen
- Satin: A low-luster finish that offers a subtle sheen and is easy to maintain.
- Semi-Gloss: A medium-luster finish that offers good durability and is easy to clean.
- Gloss: A high-luster finish that provides maximum durability but may highlight imperfections.
Applying the Finish
- Allow the stained plywood to dry completely according to the manufacturer’s instructions.
- Sand the surface lightly with a fine-grit sandpaper (220-320 grit) to remove any raised grain and create a smooth surface for the finish.
- Remove sanding dust with a tack cloth.
- Apply the finish using a high-quality brush, following the direction of the wood grain.
- Allow the finish to dry completely before applying additional coats, sanding lightly between each coat for the smoothest results.
Maintenance Tips
- Dust your stained and finished plywood surfaces regularly with a soft, dry cloth.
- Clean spills immediately to prevent stains and damage to the finish.
- Avoid placing hot or wet items directly on the stained surface to prevent discoloration or damage.
- Reapply the finish every few years, as needed, to maintain protection and shine.
By properly finishing and maintaining your stained house plywood, you’ll ensure that it remains beautiful and durable for years to come.
Common Mistakes to Avoid When Staining House Plywood
Even with the best intentions, mistakes can happen when staining house plywood. Here are some common pitfalls to avoid:
- Skipping Surface Prep: Failing to properly sand, clean, and condition the plywood surface can result in an uneven, blotchy, or poorly adhered stain.
- Applying Stain Unevenly: Inconsistent application techniques, such as using too much or too little stain, or not wiping off excess stain, can lead to an uneven finish.
- Rushing the Drying Process: Not allowing sufficient drying time between coats of stain or finish can result in a tacky, poorly adhered surface that is prone to peeling or chipping.
- Using the Wrong Stain Type: Choosing a stain that is not compatible with your plywood type or desired finish can lead to unsatisfactory results.
- Neglecting Protective Finishes: Skipping the clear protective finish can leave your stained plywood vulnerable to moisture, wear, and tear, leading to premature deterioration.
To fix or prevent these mistakes:
- Always follow proper surface preparation techniques.
- Use consistent application methods and allow adequate drying time.
- Choose the appropriate stain and finish for your specific plywood type and project.
- Don’t skip the protective clear coat.
By avoiding these common mistakes and following the techniques outlined in this guide, you’ll be well on your way to achieving professional-looking stained house plywood.
You may also read (discover how an attic fan transforms home comfort).

