
Imagine this: It’s a crisp Tuesday morning. You are parked by a stunning lake, ready to start your day. You walk into your RV bathroom to brush your teeth, but instead of a steady stream of Water, you are greeted by a sputtering, weak trickle. Or worse, you hear the dreaded drip-drip-drip echoing from the cabinet below, signaling a leak that threatens to ruin your floor.
If you are dealing with cramped RV mornings and a plumbing fixture that just isn’t cooperating, you are not alone. RV faucets are notorious for being made of lightweight plastic that cracks, fades, or wears out faster than the heavy-duty brass fixtures you have in a sticks-and-bricks home.
But here is the good news: You don’t need to live with it, and you certainly don’t need to pay a professional plumber hundreds of dollars to fix it.
Common Signs Your RV Sink Faucet Needs Replacing
Before we start tearing things apart, it is important to confirm that a replacement is actually necessary. Sometimes a repair is possible, but in the world of RVs, replacement is often the more cost-effective and long-term solution.
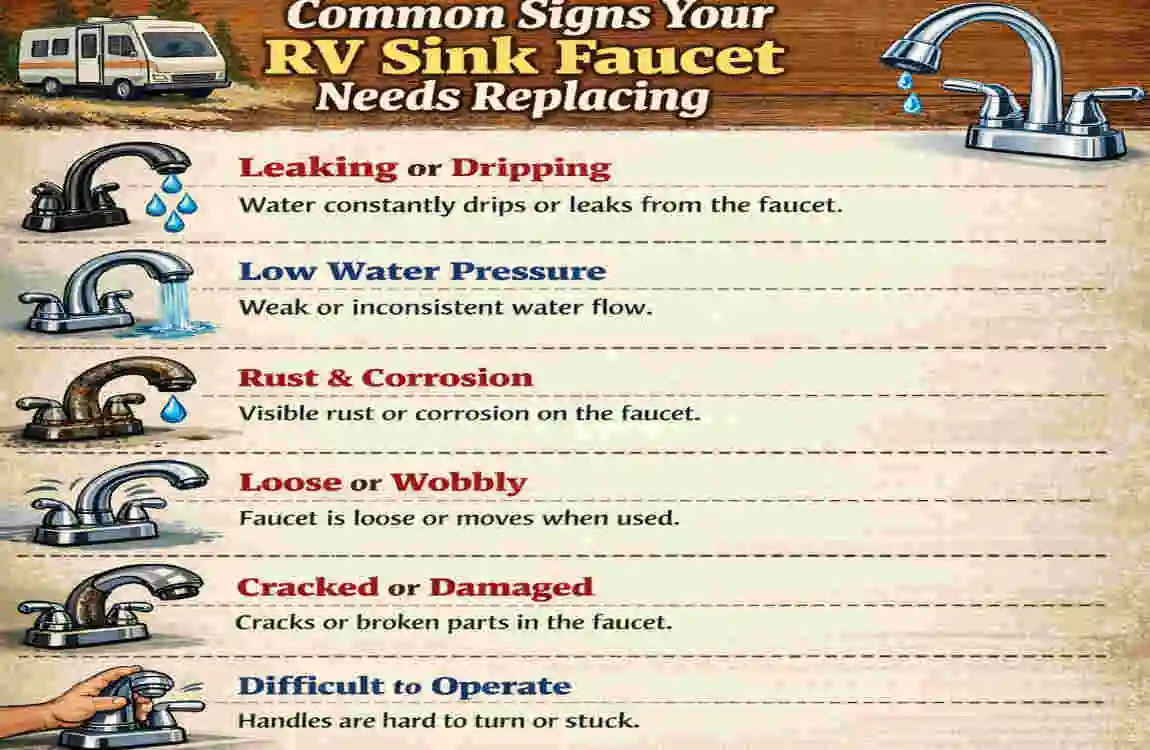
How do you know it’s time to say goodbye to your current faucet? Here are the tell-tale signs.
Persistent Drips and Leaks
This is the most obvious sign. If you have tightened the handle as far as it will go and Water still drips from the spout, the internal cartridge is likely worn out. More dangerously, if you find Water pooling under the sink inside the vanity cabinet, you need to act immediately. Water damage is the number one enemy of RVs, leading to soft floors and mold.
Low Water Pressure or Sputtering
If the water pressure in your shower is fine but the bathroom sink is barely a trickle, the faucet’s aerator might be clogged with sediment. While this can sometimes be cleaned, in older plastic RV faucets, it often signals internal corrosion or blockage that cleaning won’t fix.
Cracks, Corrosion, and Stiffness
RV faucets endure significant vibration as you drive down the highway. Over time, this causes hairline cracks in plastic bodies. Additionally, if the handles are hard to turn or squeak loudly, the internal mechanisms are failing.
You Hate The Look of It
Let’s be honest—functionality isn’t the only reason to upgrade. Many stock RV faucets look cheap, yellow over time, and sit too low in the sink, making it hard to wash your hands. Replacing it is a fantastic, affordable way to renovate your interior.
Symptom vs. Urgency Guide
To help you decide how fast you need to act, check out this quick reference table:
SymptomProbable CauseUrgency LevelWhy?
Constant Spout Drip Worn Cartridge/Washer High Wastes water (crucial when boondocking) and fills the grey tank.
Water Under Sink Cracked Housing/Loose Line Critical Risk of rot, mold, and structural damage to the RV.
Hard to turn the handle, mineral buildup, medium annoying now, but will eventually break off in your hand.
Low Water Pressure Clogged Aerator. Low is mostly an inconvenience but indicates dirty lines.
Outdated Style Aesthetic Preference Low. Whenever you are ready for a remodel!
Tools and Materials: What You’ll Need for RV Faucet Replacement
Preparation is 90% of the battle. RV bathrooms are usually tight spaces, often called “yoga for plumbers.” Having the right tools within arm’s reach prevents you from having to crawl out from under the sink halfway through the job.
You likely have most of these tools, but there is one specific tool that makes this job infinitely easier.
Essential Tools Checklist
- Basin Wrench: This is the secret weapon. It is a long tool with a pivoting jaw designed to reach up behind the sink bowl to loosen nuts that you can’t reach with your hands.
- Adjustable Wrench (Crescent Wrench): For tightening supply lines.
- Channel Lock Pliers: Good for gripping larger nuts if you have the space.
- Screwdriver Set: Usually a Phillips head, needed if your faucet is screwed into the countertop.
- Utility Knife: For cutting away old caulk.
- Old Towels and a Small Bucket: There will be Water left in the lines; you need to catch it to keep the wood dry.
- Headlamp or Flashlight: It is dark under there! A headlamp is best because it keeps your hands free.
Materials You Will Need
- New Faucet: You can use an RV-specific faucet (brands like Dura Faucet or Empire) or a standard residential bathroom faucet. Most RV sinks use a standard 4-inch center set.
- Plumber’s Putty or Silicone Sealant: To create a watertight seal between the faucet and the sink deck.
- Plumber’s Tape (Teflon Tape): Essential for wrapping threads to prevent leaks.
- Flexible Supply Lines (Optional but Recommended): If your RV has stiff PEX tubing running directly to the faucet, buy flexible braided steel adapters. They make installation easier and absorb road vibration.
Budgeting for Your Project
Item CategoryBudget Option ($)Premium Option ($$$)
Faucet Plastic RV Standard ($30-$50) Residential Metal High-Arc ($100-$150)
Sealants/Tape Standard Putty ($5) 100% Silicone & Heavy Duty Tape ($15)
Tools Basic Wrench ($10) Telescoping Basin Wrench ($25)
Total Est. ~$45 – $65 ~$140 – $190
Preparation Steps Before You Start
Safety and cleanliness are paramount. Before you touch a wrench, you need to prepare the RV plumbing system. Ignoring these steps can lead to a watery mess.
Shut Off the Water Supply
If you are hooked up to city water at a campground, go outside and turn off the spigot. Disconnect the hose just to be safe. If you are using your onboard fresh water tank, turn off the water pump inside the RV.
Relieve the Pressure
This is a step many beginners miss. Once the water source is off, go back to the bathroom sink and open the hot and cold handles. You will see a burst of Water, and then it will stop. This releases the built-up pressure in the lines. If you skip this, Water will spray everywhere when you disconnect the pipes.
Clear the Workspace
Remove everything from under the bathroom sink. Toilet paper, cleaning supplies, that random sponge you lost three months ago—take it all out. You need every inch of space to maneuver.
Protect the Area
Lay down your old towel on the floor of the cabinet. Even with the Water off, the lines will hold a cup or two of Water that will drain out when disconnected.
Step-by-Step Guide: How to Replace an RV Bathroom Sink Faucet
Now, we get to the core of the project. Follow these steps closely. We have broken them down to ensure that even if you have never held a wrench before, you can succeed.
Remove the Old Faucet
This is often the hardest part simply because of the tight squeeze.
- Disconnect the Supply Lines: lie on your back and look up under the sink. You will see two water lines connected to the faucet tailpieces. Typically, the Hot is on the Left and the Cold is on the Right. Use your adjustable wrench or pliers to loosen the nuts holding these lines. Once loose, finish unscrewing them by hand. Warning: Water will drip out here—have your towel ready!
- Remove the Mounting Nuts: Further up the tailpieces, right under the sink, are the mounting nuts holding the faucet to the counter. This is where your basin wrench shines. Clamp it onto the nut and turn counter-clockwise. These are often plastic in RVs; be gentle so you don’t strip them, though it doesn’t matter much since you are throwing them away.
- Lift the Faucet Out: Once the nuts are off, stand up and pull the faucet straight up off the sink. It might stick a little due to old gunk or putty. A gentle wiggle should free it.
Clean and Prep the Sink Area
With the old unit gone, you are left with a dirty footprint on your sink deck. You want a pristine surface for the new installation to prevent future leaks.
- Scrape the Gunk: Use a plastic scraper or a non-scratch pad to remove old plumber’s putty, hard water deposits, and grime.
- Sanitize: Wipe the area down with a disinfectant. This is a great time to clean the hard-to-reach area behind the faucet that you can’t normally reach.
- Inspect the Holes: Check the three holes (or a single hole) in the sink. Ensure there are no cracks in the sink bowl itself. RV sinks are often plastic or lightweight acrylic and can crack if the previous faucet was over-tightened.
Install the New Faucet Base
This is the most critical moment in learning how to replace an RV bathroom sink faucet effectively. If you mess up the seal here, you will have leaks later.
- Apply the Sealant:
- Gasket Method: Many new faucets come with a rubber or plastic gasket (a base plate) that fits fast against the bottom of the faucet. If yours has this, you generally do not need putty.
- Putty Method: If there is no gasket, take a golf-ball-sized chunk of plumber’s putty. Roll it between your hands until it looks like a long snake. Press this “snake” around the base of the new faucet.
- Position the Faucet: Drop the tailpieces of the new faucet through the holes in the sink. Press down firmly.
- Note: If you used putty, some will squeeze out the sides. That is a good thing! It means you have created a solid seal.
- Secure from Below: Crawl back under the sink. Thread the new mounting nuts onto the tailpieces. Spin them up by hand until they touch the underside of the sink.
- Tighten: Use your basin wrench to tighten the nuts. Do not over-tighten. You want it snug so the faucet doesn’t wiggle, but if you crank it too hard, you could crack the plastic RV sink.
Connect Water Supply Lines
Now we need to reconnect the RV’s plumbing to your shiny new fixture.
- Check the Fittings: Most residential faucets have 1/2-inch male pipe threads. Most RV plumbing lines end in a 1/2-inch female swivel nut. They usually match perfectly. However, if your new faucet has copper tubes attached, you might need an adapter.
- Use Tape: Wrap the threaded tailpieces of the faucet with Teflon tape (plumber’s tape). Wrap it clockwise 2 or 3 times. This helps lubricate the connection and creates a watertight seal.
- Connect the Lines: Screw the hot water line to the left inlet and the cold water line to the right inlet.
- Pro Tip: If your RV uses stiff PEX tubing that puts tension on the faucet, install a flexible faucet connector (braided steel hose) between the PEX and the faucet. This absorbs the vibrations from road travel and prevents the plastic fittings from cracking later.
- Tighten the Lines: Hand-tighten first, then use your wrench to give it another quarter or half turn. Again, avoid the urge to over-tighten.
Secure and Test the Installation
The moment of truth has arrived.
- Clean Up: Wipe away any excess plumber’s putty that squeezed out around the base of the faucet on the countertop.
- Remove the Aerator: Unscrew the little mesh screen at the tip of the new faucet spout. Why? When you first turn the Water on, debris dislodged during installation can rush up and immediately clog the screen.
- Turn Water On: Go outside and turn the city water back on (or turn on your pump). Do this slowly.
- Check for Leaks: Before you wash your hands, look under the sink. Use your flashlight. Run your hand along the connections. Is it dry? Great!
- Flush the Lines: Turn the faucet handles on. Let the Water run for 60 seconds to flush out air and debris.
- Reinstall Aerator: Screw the aerator back onto the spout.
RV-Specific Tips and Troubleshooting
While plumbing is plumbing, RVs present unique challenges that standard homes do not. Here are some expert tips to ensure your installation survives the open road.
Dealing with Vibration
Your house doesn’t experience an earthquake every time you move it. Your RV does.
- Check tightness annually: Make it a habit to check the mounting nuts under the sink once a year. Road vibration loosens them.
- Use Flexible Lines: As mentioned earlier, rigid pipes connected to a rigid faucet will eventually snap due to vibration. Flexible hoses act as shock absorbers.
The “Tiny Sink” Problem
RV bathroom sinks are often incredibly shallow.
- Watch the Arc: When buying a replacement, be careful about getting a “waterfall” style or an extremely high-arc faucet. If the Water comes out too forcefully and hits a shallow bowl, it will splash all over your pants every time you use it. Look for an aerator that restricts flow slightly to prevent splashing.
Winterizing Concerns
If you live in a cold climate, remember that residential faucets might hold Water differently than RV-specific ones.
- Blow it out: When winterizing, ensure you blow compressed air through the lines with the faucet open to ensure no water is trapped in the cartridge, which could freeze and crack the metal body.
Recommended RV Faucet Products
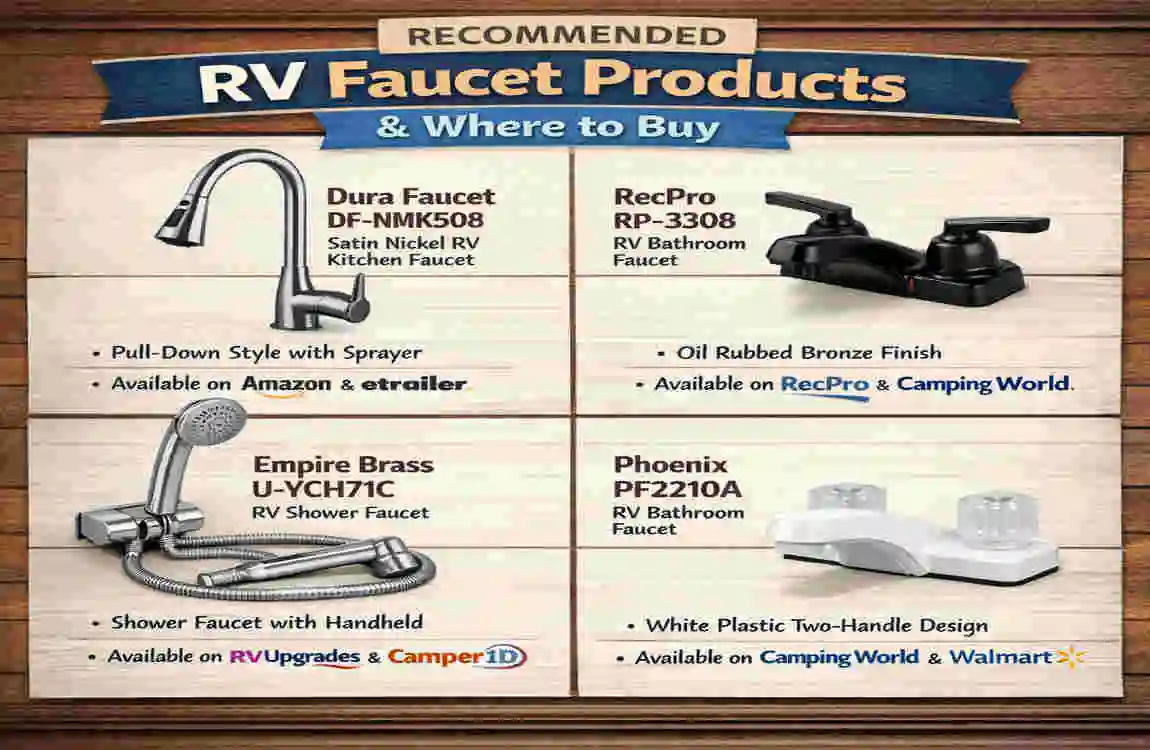
Not sure what to buy? Here is a quick guide to some popular options among the RV community.
BrandBest ForPrice RangeWhy We Like It
Dura Faucet Direct Replacement $30 – $60 Made specifically for RVs; lightweight, easy install, huge variety of finishes.
Moen / Delta Luxury Upgrade $80 – $150 Residential quality; heavier metal construction; smoother handle operation.
Empire Faucets Modern Look $50 – $90 Offers trendy designs (matte black, oil-rubbed bronze) sized for RVs.
Peerless Budget Friendly $40 – $60 Good middle ground between plastic RV parts and expensive home fixtures.
Where to Buy: You can find these at Camping World, Amazon, or specialized sites like etrailer.com.
FAQs: How to Replace an RV Bathroom Sink Faucet
Q: How long does RV sink faucet replacement typically take? A: For a beginner, plan on about 1 to 2 hours. This accounts for removing the old, stubborn unit, cleaning the area, and installing the new one. Once you’ve done it once, you could probably do the next one in 30 minutes!
Q: Can I use a regular home faucet in my RV? A: Yes, absolutely. Most RV sinks use the standard 4-inch hole spacing. Just verify that the tailpiece connectors match your plumbing, or pick up a simple adapter at the hardware store. Residential faucets are often more durable than the plastic ones that come with the RV.
Q: What if the new faucet holes don’t match my sink? A: If you have a 3-hole sink but want a single-hole faucet, you can buy a “deck plate” (escutcheon) to cover the extra holes. If the spacing is completely off, you might need to drill new holes (risky on plastic sinks) or stick to a model that matches your current configuration.
Q: My RV plumbing uses PEX pipe. Do I need special tools? A: Generally, no. You are connecting to the threaded fittings at the end of the PEX pipe. You shouldn’t need to cut or crimp the PEX itself unless the fittings are damaged.
Q: Can I do this while camping? A: Yes! It’s a great campsite project. Just make sure you have a bucket to catch Water, and confirm you can shut off the campground water supply before you start.