
Installing shower fixtures may seem complex, but with the right tools, knowledge, and patience, it’s a project that any homeowner can tackle. Not only does a DIY installation save money, but it also allows you to customize your bathroom to suit your needs and preferences.
Understanding Shower Plumbing Fixtures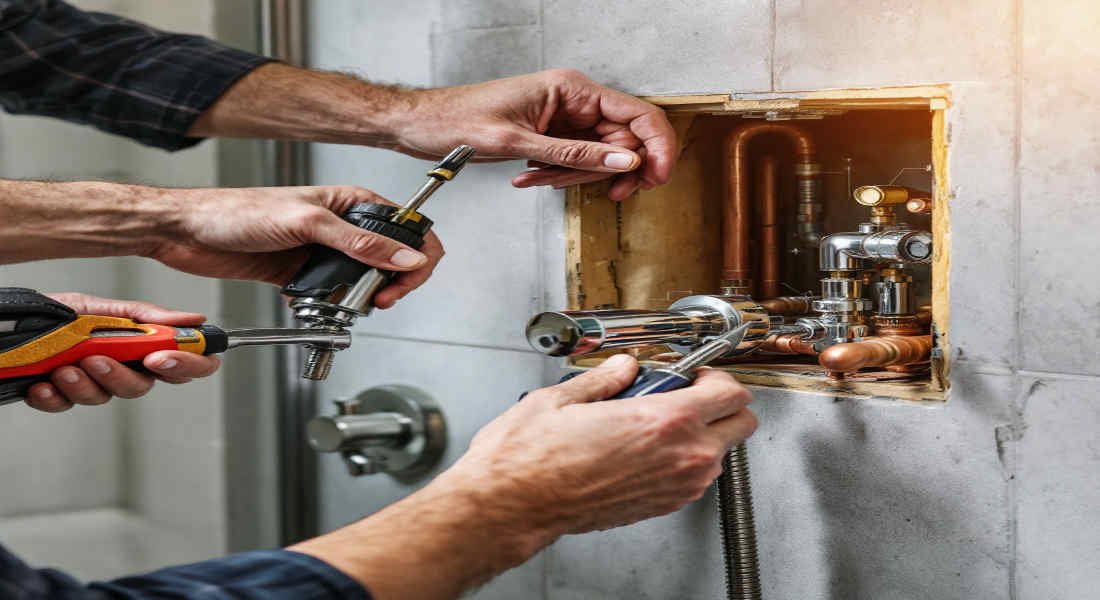
Before we start the installation, it’s essential to understand the different components of a shower system. This foundational knowledge will help you confidently navigate the process and ensure you’re making informed decisions.
Common Shower Fixtures
A shower system consists of several key components:
- Showerhead – The part from which water flows, available in various styles like handheld, rain shower, or standard wall-mounted.
- Shower Valve – Controls the water temperature and pressure.
- Handle – Used to adjust the settings on the valve.
- Tub Spout (optional): If your shower includes a bathtub, this is where water flows to fill the tub.
Each fixture contributes to your overall shower experience, and selecting high-quality materials ensures durability and performance.
Types of Plumbing Pipes
The type of plumbing pipes used in your home is critical when installing shower fixtures. The most common types include:
- Copper Pipes: Durable and long-lasting, but require soldering skills for installation.
- PVC Pipes: Lightweight and affordable, but less durable over time.
- CPVC Pipes: Similar to PVC but more heat-resistant, making them ideal for hot water systems.
Choosing fixtures compatible with your plumbing material is crucial to avoid leaks or malfunctions later.
Importance of Quality Fixtures
Investing in high-quality shower components may cost more upfront, but it can save you from frequent repairs and replacements. Look for fixtures with good reviews, durable materials, and proper certifications to ensure they meet safety and performance standards.
Tools and Materials Needed for Installation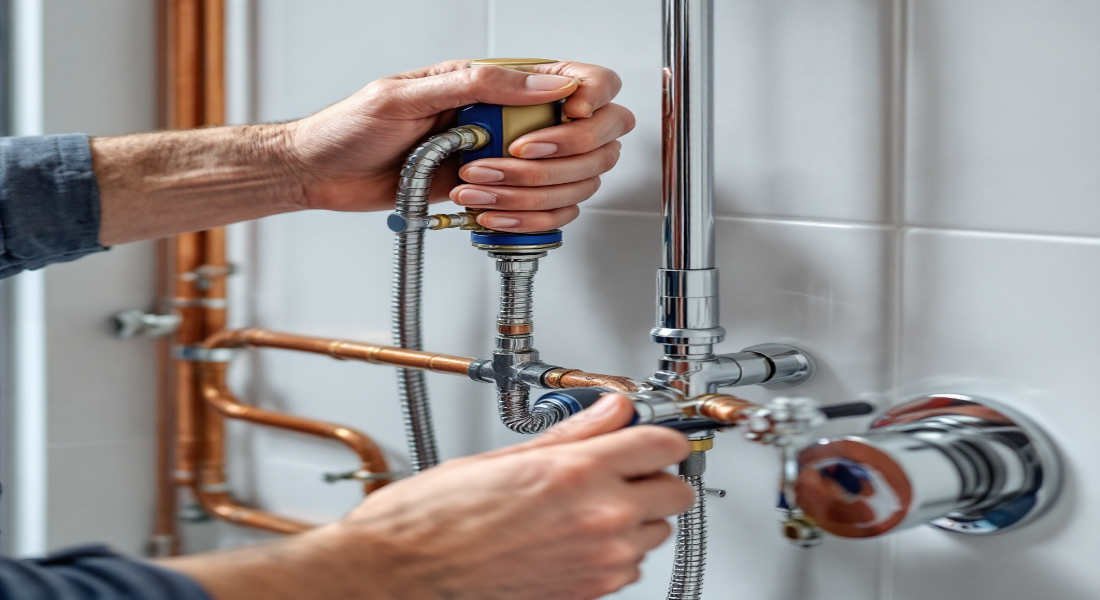
Proper preparation is key to a smooth and successful installation. Here’s what you’ll need:
You may also read (plumbing in your home).
Essential Tools
- Adjustable Wrench – This is for loosening and tightening fittings.
- Pipe Cutter – To cut pipes to the desired length.
- Plumber’s Tape – To seal threaded connections and prevent leaks.
- Sealant or Plumber’s Putty – Used to create watertight seals.
- Soldering Kit (if using copper pipes) – Includes a torch, solder, and flux.
Materials
- New shower fixtures (Showerhead, valve, handle, tub spout if applicable).
- Plumbing pipes (copper, PVC, or CPVC based on your existing system).
- Silicone sealant for sealing around fixtures.
Safety Equipment and Tips
- Wear protective gloves and safety goggles while working.
- Ensure the water supply is completely turned off before starting.
- Keep a bucket and towels nearby to catch residual water in the pipes.
Step-by-Step Guide: How to Install Shower Home Plumbing Fixtures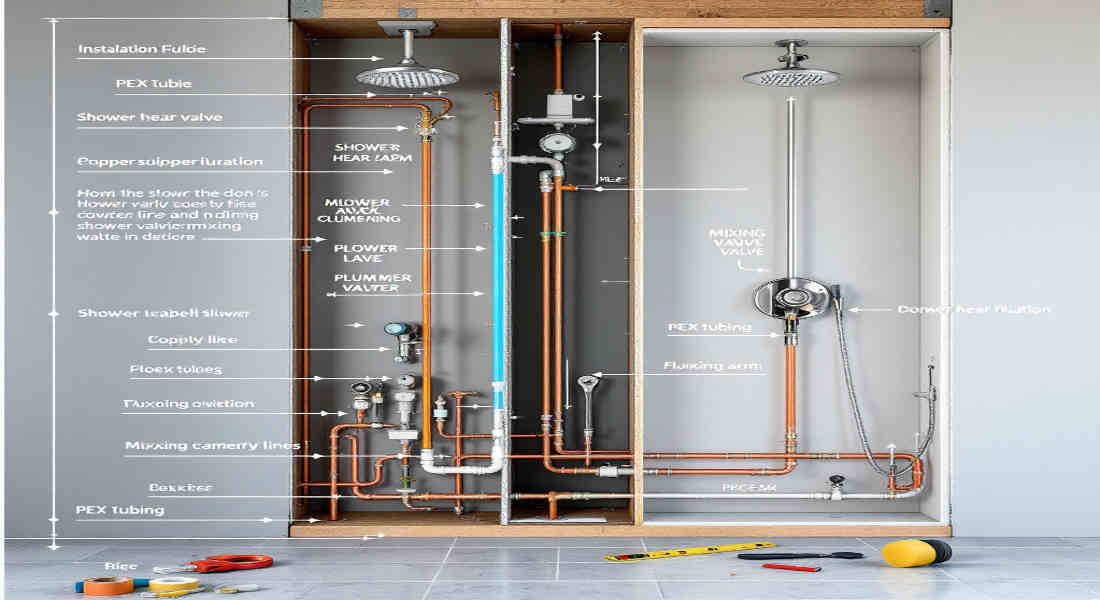
Now that you’re ready with tools and materials, let’s move on to the installation process. This detailed guide will walk you through each step.
Shut Off the Water Supply
Before starting, turn off the water supply to the shower. Locate the main water valve (usually near the water meter) or the dedicated valve for the bathroom. Once off, open the shower faucet to drain any remaining water in the pipes.
Remove Old Fixtures
Carefully remove the existing shower components:
- Showerhead: Unscrew it using an adjustable wrench.
- Valve and Handle: Use a screwdriver to detach the handle and trim plate.
- Tub Spout (if applicable): Check if it’s threaded or slip-on and remove accordingly.
You may also read (home plumbing repairs).
Be gentle to avoid damaging the surrounding walls or plumbing.
Prepare the Plumbing
Inspect the current plumbing system for wear or damage. Replace any corroded or outdated pipes.
- Cut and Fit Pipes: If new pipes are needed, use a pipe cutter to size them accordingly.
- Install Support Brackets: These ensure stability for the fixtures and prevent them from moving.
Install the New Shower Valve
- Secure the valve to the cross-stud in the wall.
- Connect hot and cold water pipes using the correct fittings.
- Use solder for copper pipes or glue for PVC/CPVC pipes to ensure tight connections.
- Please double-check that the valve is level before securing it entirely.
Attach the Shower Arm and Showerhead
Wrap the shower arm threads with plumber’s tape for a watertight seal. Screw the arm into the wall fitting and attach the Showerhead. Avoid overtightening to prevent damage.
Install Handle and Trim Plate
Follow the manufacturer’s instructions to attach the trim plate and handle. Align the handle properly and tighten screws securely.
Install or Replace Tub Spout (If Applicable)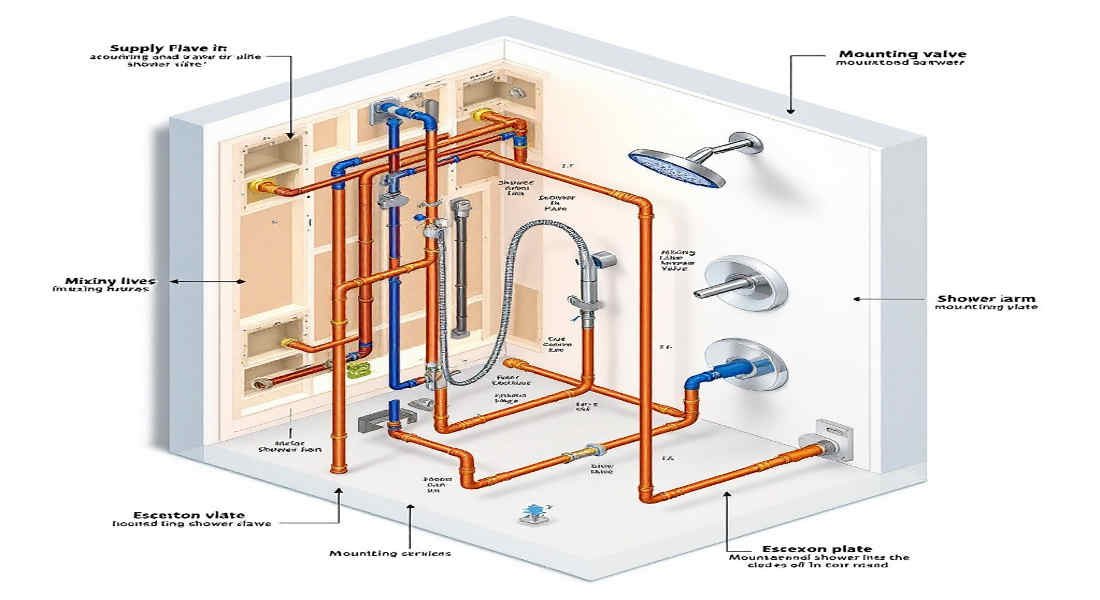
Depending on the type of spout:
- For threaded spouts, wrap threads with plumber’s tape and screw into place.
- For slip-on spouts, slide the spout onto the pipe and tighten the set screw underneath.
Seal Around Fixtures
Apply silicone sealant around the edges of the trim plate, shower arm, and tub spout to prevent water from seeping into the wall. Smooth the sealant with a damp finger or tool for a clean finish.
Turn On the Water and Test for Leaks
Slowly turn the water supply back on and check all connections for leaks. Tighten any loose fittings as needed. Adjust the shower valve to test temperature and pressure settings.
Troubleshooting Common Issues
Even with careful installation, issues may arise. Here’s how to address them:
Leaks Around Fixtures
- Tighten fittings or add more plumber’s tape.
- Check for cracks in the fixtures or pipes.
Poor Water Pressure
- Clean the Showerhead to remove mineral buildup.
- Ensure the valve is fully open and the pipes are not clogged.
Temperature Fluctuations
- Verify that the hot and cold water lines are correctly connected.
- Consider upgrading to a thermostatic valve for better control.
Tips for Maintaining Your Shower Fixtures
To ensure long-lasting performance, follow these maintenance tips:
- Clean the Showerhead Regularly: Soak in vinegar to remove mineral deposits.
- Inspect for Leaks: Check connections periodically and tighten as needed.
- Replace Worn Parts: Swap out washers or o-rings to prevent larger problems.
- Upgrade to Water-Efficient Fixtures: Save water and reduce utility bills.
You may also read (static test in your home plumbing).