
When it comes to home improvement, few tasks are as rewarding as tackling a DIY plumbing project. Installing plumbing for your shower might seem like a daunting job, but with the right tools, preparation, and guidance, it’s entirely possible to do it yourself.
Why Proper Shower Plumbing Installation Matters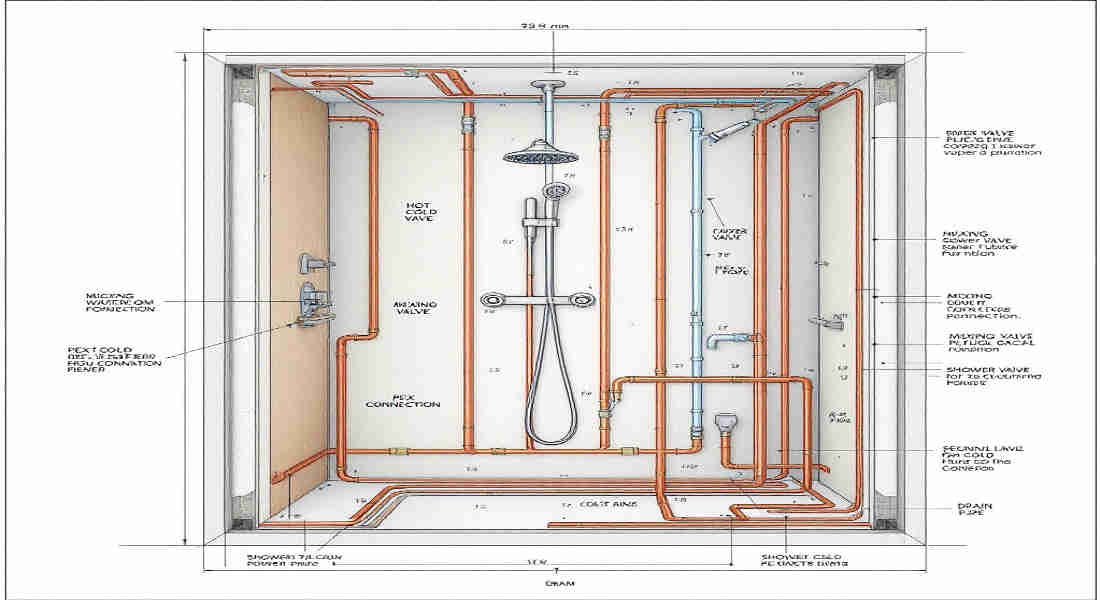
Your shower is one of the most frequently used fixtures in your home. Poor plumbing can lead to leaks, water damage, and uneven water pressure, all of which can be costly and inconvenient to fix down the line. By installing the plumbing yourself, you not only save on labor costs but also get the satisfaction of customizing the setup to your preferences.
Understanding Shower Plumbing Basics
Before jumping into the installation process, it’s essential to understand the primary components of shower plumbing and the materials you’ll be working with.
Key Components of Shower Plumbing
A functioning shower relies on several interconnected parts. Below is a breakdown of the components you’ll be handling:
- Shower Valve: Controls water flow and temperature.
- Riser Pipe: Carries water from the valve to the shower head.
- Shower Head: The fixture where water exits for your shower.
- Drain: Responsible for channeling used water out of the shower area.
- Water Supply Lines: Pipes that bring water into the shower system from your home’s plumbing.
Types of Plumbing Pipes
Choosing the right type of pipe for your shower plumbing is crucial. Here are the three most common options:
Pipe TypeProsCons
Copper Pipes: Durable, heat-resistant, long lifespan, Expensive, requires soldering.
PEX Pipes are Flexible, easy to install, and affordable. Can’t be used outdoors (UV sensitive)
PVC Pipes Lightweight, corrosion-resistant, budget-friendly. Not suitable for hot water
Building Codes and Permits
Pro Tip: Always check your local building codes before starting the project. Some areas require permits for plumbing work, and adhering to these regulations ensures safety and avoids fines.
Safety Considerations and Tools
Working with plumbing involves tools and techniques that require care. Here’s a list of tools to gather:
- Pipe cutter
- Plumber’s tape
- Adjustable wrench
- Soldering kit (if using copper pipes)
- Spirit level
Wear protective gear, such as gloves and safety goggles, to avoid injuries during the installation.
Preparing for Your Shower Plumbing Installation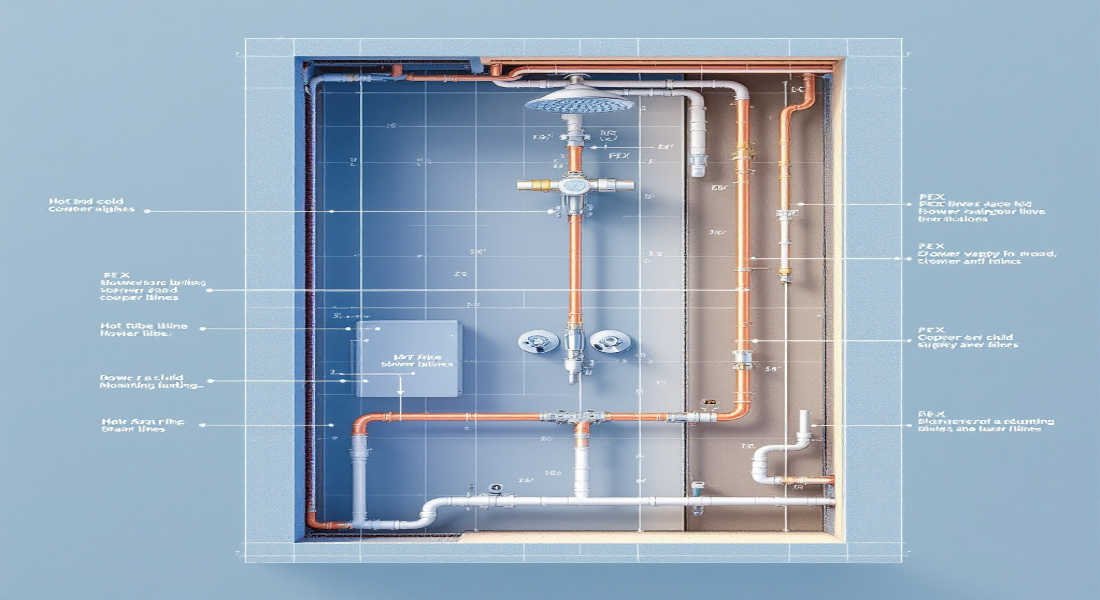
Proper preparation is the key to a successful shower plumbing installation. Here are the steps to get your shower area ready.
You may also read (clean plumbing pipes at home).
Waterproofing Walls and Floors
Ensure the shower area is completely waterproof to prevent rot and water damage. Apply a waterproof membrane to walls and floors, especially around the shower enclosure.
Remove Old Fixtures and Inspect for Mold
If you’re remodeling, remove the existing shower fixtures. Inspect the area for signs of mold or damage and address these issues before proceeding.
Select the Right Shower Valves and Fixtures
Choose between a thermostatic mixer valve (for precise temperature control) and a standard valve. Select fixtures that match your aesthetic preferences while ensuring compatibility with your plumbing system.
Plan the Layout
Carefully plan where the valve, riser pipe, and shower head will be positioned. Consider the height of users and ensure the layout creates a comfortable and functional shower experience.
Gather Materials
Make sure you have all the materials and tools before starting. This includes pipes, fittings, a pipe cutter, plumber’s tape, and any additional materials for your chosen pipe type.
Step-by-Step Guide: How to Install a House Plumbing for a Shower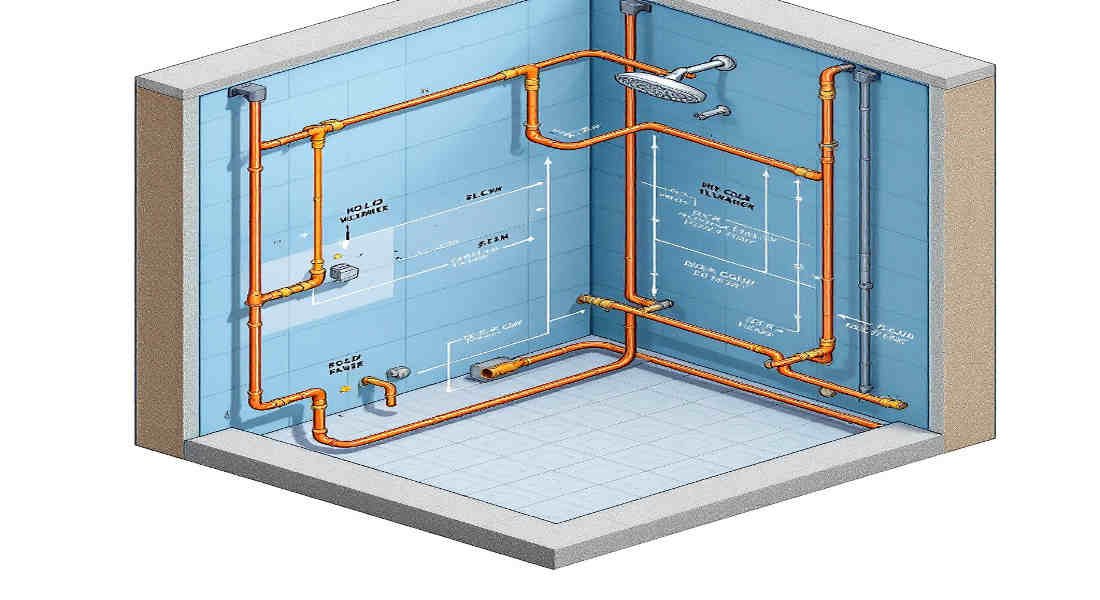
Now that you’re prepared, let’s get into the step-by-step process.
Install Support Brackets and Studs
- Install sturdy support brackets to hold plumbing fixtures securely.
- Position the brackets according to manufacturer recommendations and local building codes.
- Use a spirit level to ensure everything is straight.
Install the Shower Drain
- Mark the position of the drain on the subfloor and cut a hole accordingly.
- Attach the drain fitting to the waste pipe and secure it in place. Ensure a tight seal to prevent leaks.
Install the Shower Valve
- Determine the correct height for the shower valve and mark the wall.
- Cut an access hole in the wall and mount the valve on the framing.
- Use plumber’s tape on the threads to ensure a tight, leak-free connection.
Connect Water Supply Lines
- Measure and cut the pipes (copper, PEX, or PVC) to the required lengths.
- Use compression fittings or solder the connections if using copper pipes.
- Test each connection for leaks before proceeding.
Install Shower Riser and Shower Head
- Measure and cut the riser pipe to the correct length.
- Secure the riser pipe to the valve and use a level to ensure it’s straight.
- Wrap plumber’s tape on the shower head threads and attach it securely.
Final Testing and Sealing
- Turn on the water supply and check for leaks at every connection point.
- Adjust the valve settings to ensure proper water flow and temperature.
- Seal any gaps around the fixtures and clean up the work area.
You may also read (home plumbing first appear).
Tips and Best Practices for a Successful Installation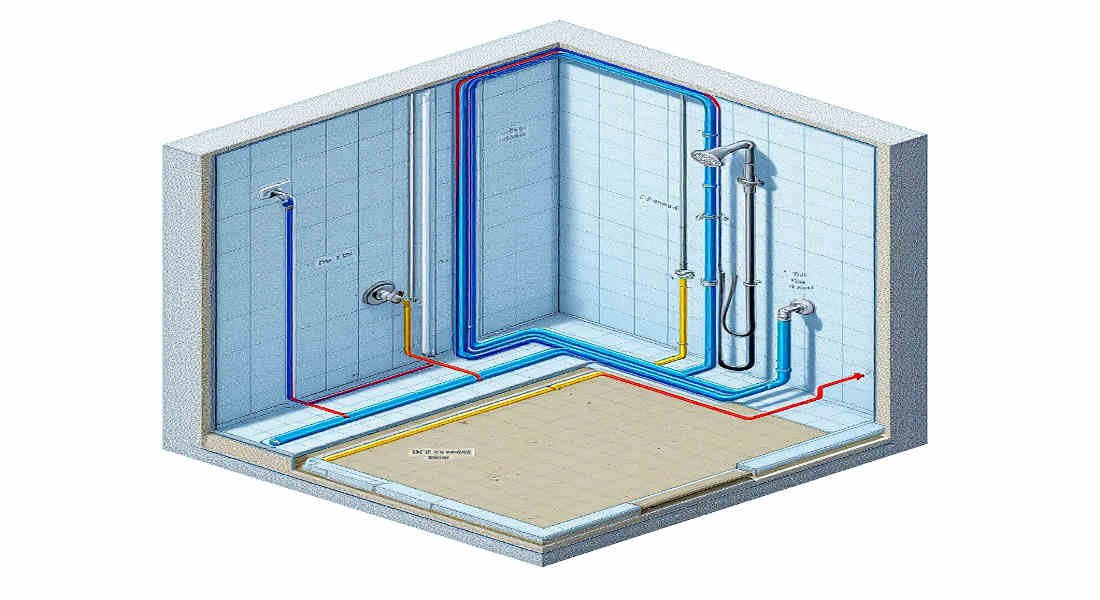
Here are some additional tips to ensure your shower plumbing installation goes smoothly:
- Double-check measurements: Measure twice before cutting any pipes.
- Apply plumber’s tape correctly: Wrap it clockwise around the threads to prevent leaks.
- Avoid overtightening fittings: This can damage threads and cause leaks.
- Use a spirit level: Ensure all components are aligned properly.
Troubleshooting Common Issues
Even with careful planning, issues can arise during installation. Here’s how to address them:
Leaks in Connections
- Tighten fittings or reapply plumber’s tape.
- If solder joints are leaking, reheat and reapply solder.
Uneven Water Pressure
- Check for blockages in the pipes or fixtures.
- Ensure water supply valves are fully open.
Misaligned Shower Head
- Adjust the riser pipe or shower arm for proper alignment.
Temperature Fluctuations
- Inspect the shower valve for debris or improper installation.
Maintenance Tips for Shower Plumbing
To keep your shower plumbing in top condition, follow these maintenance tips:
- Regularly inspect for leaks and corrosion.
- Clean the shower head to remove mineral buildup.
- Insulate pipes to prevent freezing in winter.
- Call a professional plumber for major repairs.
You may also read (what year did pex home plumbing first appear).