Fixing plumbing issues under your sink can seem intimidating at first, but it doesn’t have to be. With a little knowledge and the right tools, you can handle most common problems yourself, saving both time and money.
Understanding Your Under-Sink Plumbing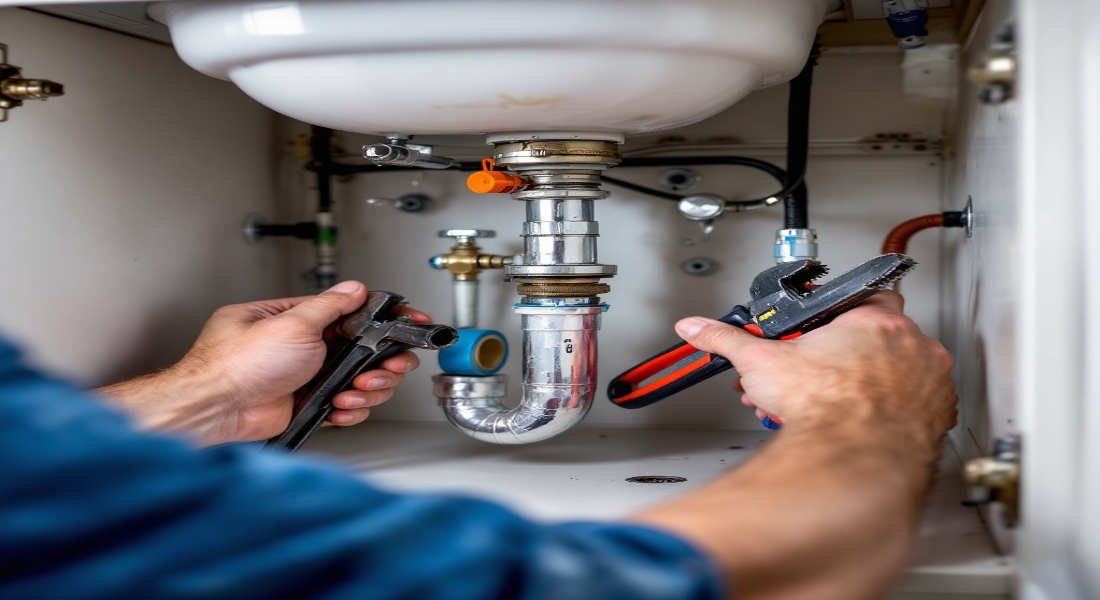
Before you start any repair, it’s essential to understand how the plumbing under your sink works. Knowing the components and how they function will help you identify and fix problems quickly.
Components Explained
Your under-sink plumbing consists of several key parts:
- Hot and Cold Water Supply Lines
- These are flexible pipes that connect your faucet to the hot and cold water supply. They’re usually made of braided metal or plastic.
- Drain Pipes
- The drain system includes the P-trap, tailpiece, and other connecting pipes. The P-trap is a curved pipe designed to hold water, preventing sewer gases from entering your home.
- Additional Lines
- If you have a garbage disposal or dishwasher, additional lines may connect these appliances to the sink drain.
How the System Works
The plumbing under your sink follows a simple system:
- Water flows from the supply lines into the faucet.
- Wastewater exits through the tailpiece, passes the P-trap, and flows into the main drainpipe.
- The P-trap holds water to block odours from the sewer system.
Familiarising yourself with these parts will make diagnosing and fixing problems much easier.
Tools and Materials You’ll Need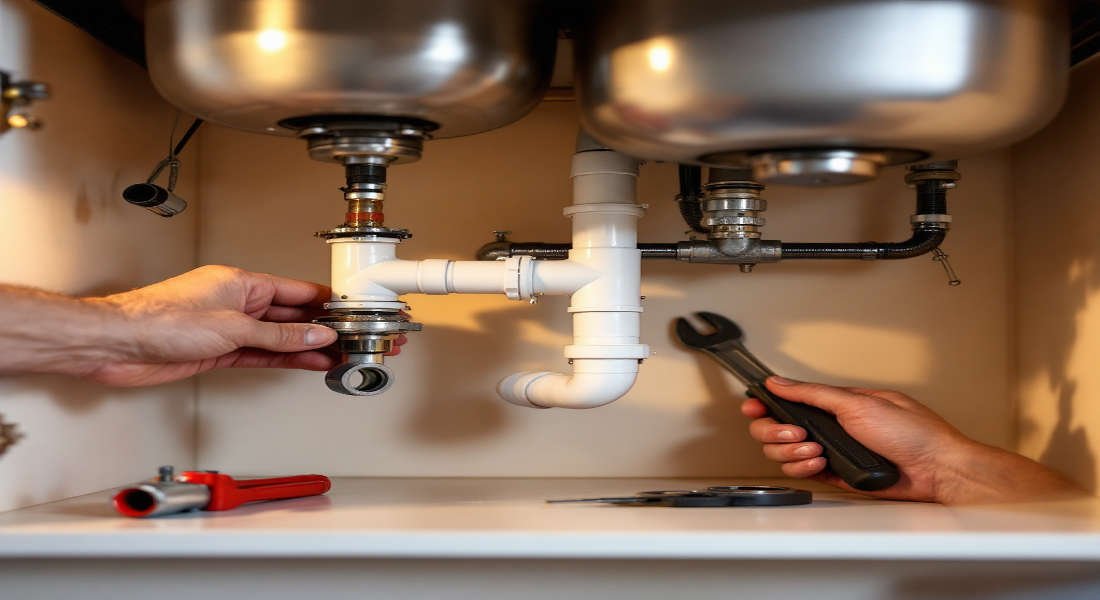
Essential Tools
Before diving into repairs, gather the necessary tools. Here’s a list of essentials:
Yu may also read (what year did pex home plumbing first appear).
- Adjustable wrench
- Pliers
- Bucket (to catch water)
- Plumber’s tape (Teflon tape)
- Screwdriver
- Flashlight
Safety Gear
Plumbing can get messy, so it’s important to protect yourself:
- Gloves: Prevents cuts and keeps your hands clean.
- Goggles: Protect your eyes from splashes.
Materials for Repairs
Depending on the issue, you may also need:
- Replacement washers or seals
- New pipes or fittings
- Plumber’s putty
- Cleaning supplies (vinegar, baking soda)
Having everything ready before you start will make your repair process smooth and efficient.
Diagnosing the Problem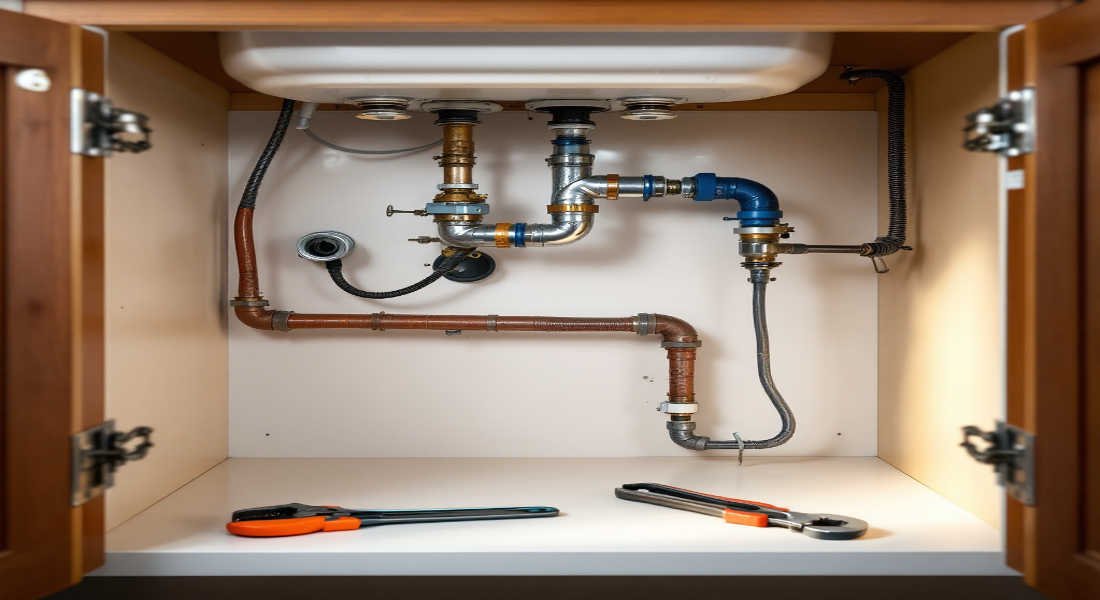
The first step in fixing plumbing issues under your sink is identifying the problem. Let’s look at the most common issues and how to diagnose them.
Identifying Common Issues
- Leaks
- Look for dripping or pooling water under the sink.
- Check connections and pipes for signs of corrosion or damage.
- Clogs
- Notice slow drainage or standing water in the sink.
- Odours from the drain could indicate a blockage.
- Loose or Corroded Connections
- Inspect nuts and fittings for looseness or rust.
Finding the Source
Start with a visual inspection:
- Use a flashlight to trace the water’s path.
- Remember, water may travel along pipes before dripping, so check all connections.
By pinpointing the problem, you’ll know exactly where to focus your efforts.
Preparing for the Repair
Preparation is key to a successful DIY plumbing repair. Here’s how to get started.
You may also read (clean plumbing pipes at home).
Safety First
- Turn Off the Water Supply
- Locate the shutoff valves under the sink and turn them clockwise to stop the flow of water.
- Clear the Area
- Remove items from the cabinet to give yourself enough space to work. Use towels or a bucket to catch any water.
Gather Your Tools
Double-check that you have all the tools and materials you’ll need. It’s better to have everything on hand than to stop mid-repair to find a missing item.
Fixing Leaks Under the Sink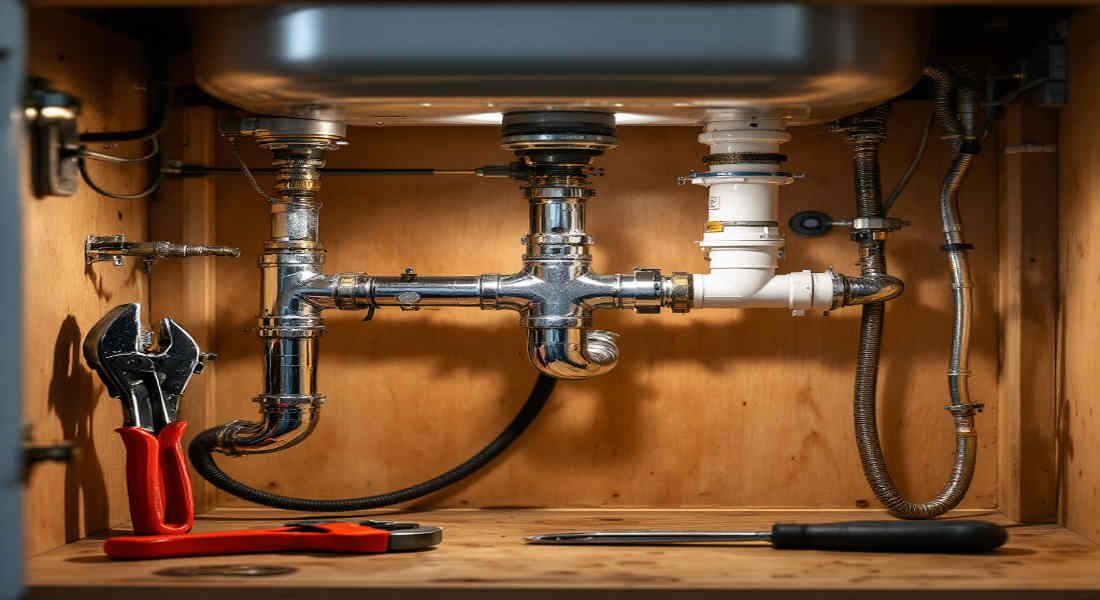
Leaks are one of the most common issues under the sink. Here’s how to address them.
Tightening Connections
- Use an adjustable wrench to tighten loose fittings.
- Avoid over-tightening, as this can damage the threads.
Replacing Washers and Seals
- Identify worn or damaged washers.
- Remove the old washer and replace it with a new one.
- Reassemble the connection and test for leaks.
Using Plumber’s Tape
- Wrap plumber’s tape around the threads of fittings to create a better seal.
- This is especially useful for preventing leaks in threaded connections.
Replacing Damaged Pipes
- Measure and cut the replacement pipe to size.
- Remove the damaged section and install the new pipe.
- Ensure all connections are secure.
Clearing Clogs and Blockages
Clogs can disrupt your sink’s functionality, but they’re often easy to fix.
Quick Fixes
- Boiling Water Method
- Pour boiling water down the drain to dissolve grease or soap buildup.
- Baking Soda and Vinegar
- Pour 1/2 cup of baking soda followed by 1/2 cup of vinegar. Let it sit for 15 minutes, then flush with hot water.
- Plunger
- Use a sink plunger to dislodge clogs. Ensure there’s enough water in the sink to create suction.
Manual Removal
- Remove the P-trap.
- Clean out any debris inside.
- Reassemble and test the drain.
Preventing Future Clogs
- Avoid pouring grease or coffee grounds down the drain.
- Use a drain strainer to catch debris.
Reassembling and Testing
Reconnecting All Parts
- Ensure washers and nuts are properly placed.
- Use plumber’s tape for a leak-free fit.
Testing for Leaks
- Turn the water supply back on.
- Run water and inspect for any drips.
Troubleshooting Common Problems
If issues persist, here’s what you can do:
- Persistent Leaks: Double-check connections and seals.
- Recurring Clogs: Consider deeper issues in the plumbing system.
- When to Call a Professional: If you notice major corrosion or structural damage, it’s time to seek expert help.
Maintenance Tips for Under-Sink Plumbing
Regular Inspections
- Check for leaks and corrosion every 3-6 months.
Cleaning and Care
- Avoid harsh chemicals that can damage pipes.
- Dispose of waste properly to prevent clogs.
Upgrading Old Plumbing
- Replace outdated materials, such as old metal pipes, with modern PVC for durability.
Safety Considerations and Environmental Tips
- Always handle chemicals with care.
- Opt for eco-friendly cleaning methods like baking soda and vinegar.
- Prevent water damage by addressing leaks promptly.
You may also read (rerouting your home plumbing).