
Home plumbing systems are the unsung heroes of modern living. They ensure we have clean water for drinking, bathing, and cooking while safely carrying waste away. However, if not detected early, plumbing issues such as hidden leaks or failing pipes can lead to significant problems. This is where static testing for home plumbing comes into play.
What Is a Static Test for Home Plumbing?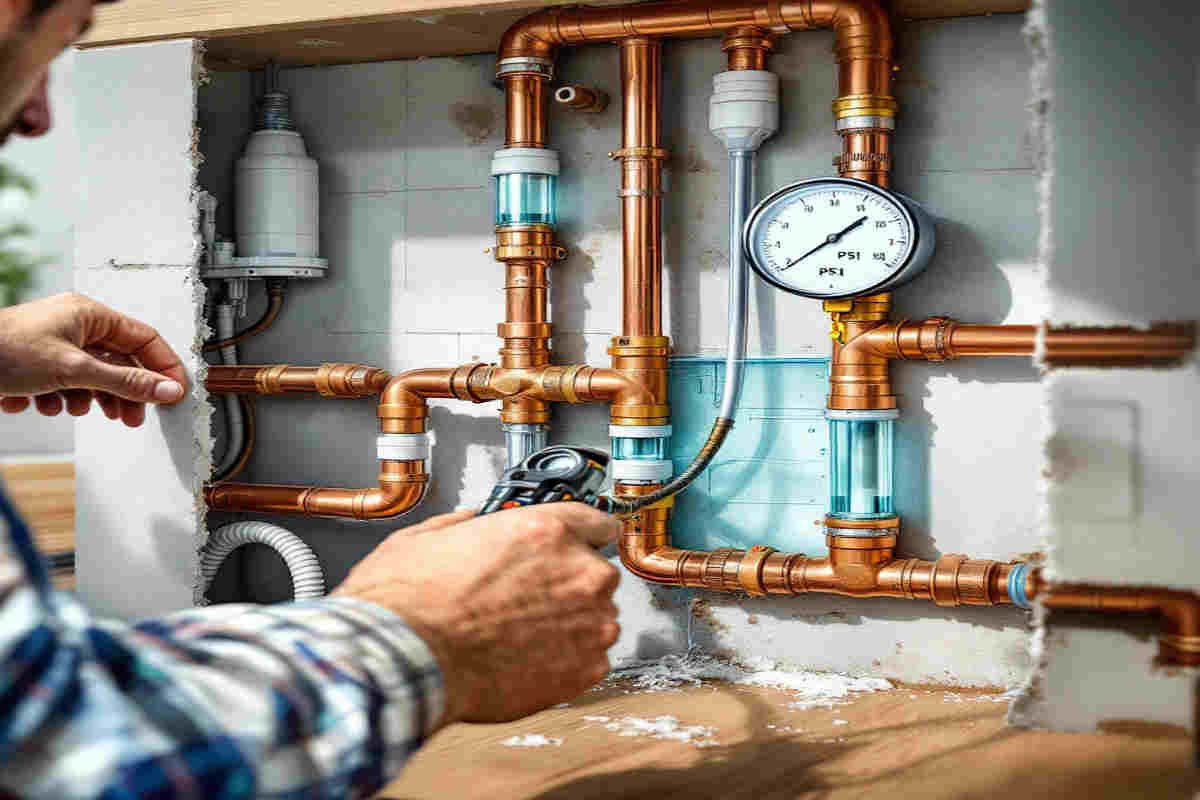
A static test, also known as a hydrostatic test, is a method used to evaluate the integrity of your plumbing system. It involves filling a section of pipes with water and monitoring the pressure or water level to detect leaks. This simple yet effective test can reveal hidden plumbing problems before they escalate into expensive repairs.
Static Testing vs. Dynamic Testing
To fully understand static testing, it’s helpful to contrast it with dynamic testing:
- Static Testing: The system is entirely sealed, and water is in place to identify leaks. There’s no movement of water during the test.
- Dynamic Testing: Water moves through the pipes under normal operating conditions, and flow rates or pressure changes are used to detect problems.
Why Is Static Testing Important?
Static testing plays a critical role in maintaining your home’s plumbing system. Here’s why it’s essential:
- Leak Detection: Hidden leaks can lead to water damage, mold growth, and higher utility bills. Static tests help identify these issues early.
- Ensuring Pipe Integrity: It ensures that pipes are free from cracks or weaknesses that could worsen over time.
- Foundation Protection: Undetected leaks, especially under the foundation, can weaken the structure of your home, leading to costly repairs.
Where Can Static Testing Be Used?
Static testing can be applied across various plumbing systems in your home:
- Water supply lines
- Drainpipes
- Sewer lines
- Vent pipes
By conducting a static test, you can ensure that each system is functioning correctly and free from hidden leaks.
When Should You Conduct a Static Test?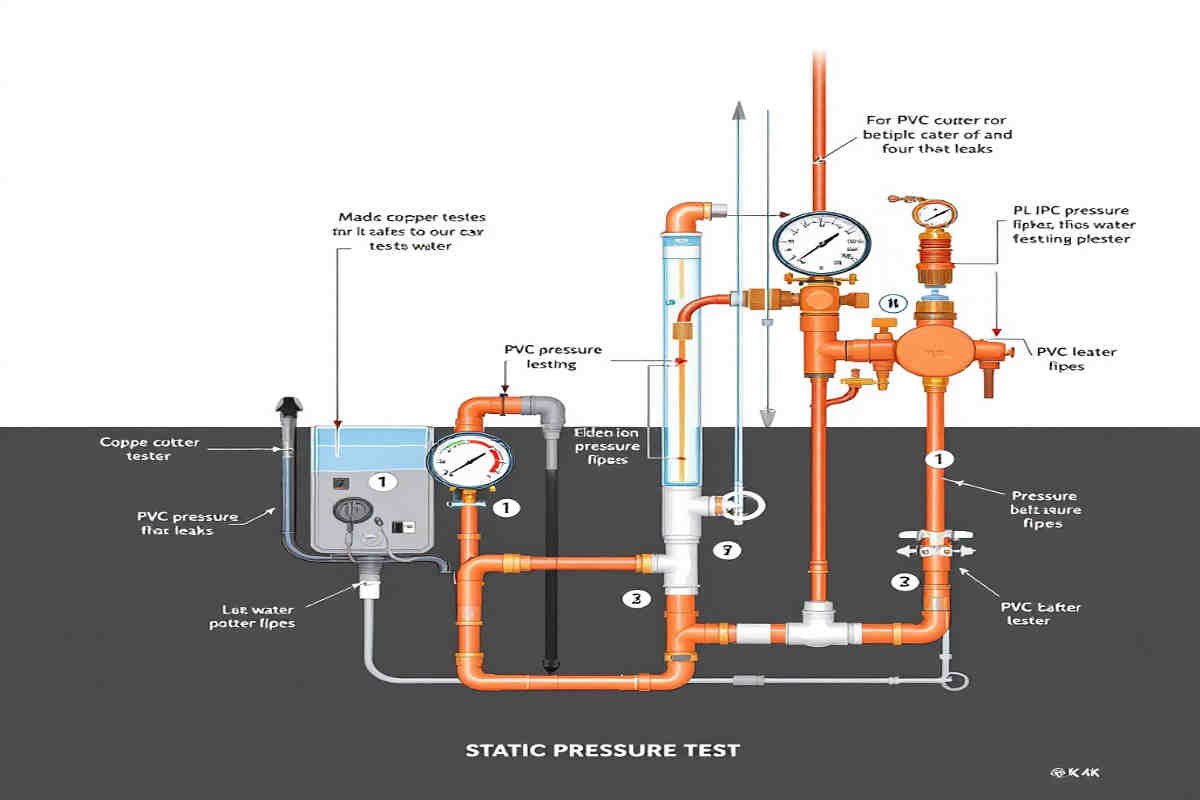
Not every situation requires a static test, but specific scenarios make it necessary to maintain your home’s plumbing health. Here are some occasions when a static test is highly recommended:
You may also read (responsible for home plumbing).
After Plumbing Repairs or Installations
If you’ve recently had plumbing work done—such as replacing pipes, installing fixtures, or repairing leaks—it’s wise to conduct a static test. This ensures that the repairs or installations were successful and no new leaks developed.
Buying an Older Home
Older homes, especially those with cast-iron pipes, are more prone to plumbing issues. A static test can reveal hidden leaks, pipe damage, or other problems that may not be visible during a routine home inspection.
Suspected Foundation Issues or Slab Leaks
Slab leaks (leaks under the foundation) are a common yet serious problem. If you notice cracks in your foundation, damp spots on the floor, or unexplained water pooling, a static test can help determine if a plumbing issue is the cause.
Routine Home Maintenance
Even if no problems are apparent, conducting a static test periodically as part of your home maintenance routine can save you from costly surprises in the future. It’s a proactive way to ensure your plumbing system is in good condition.
Where to Conduct a Static Test in Your Home Plumbing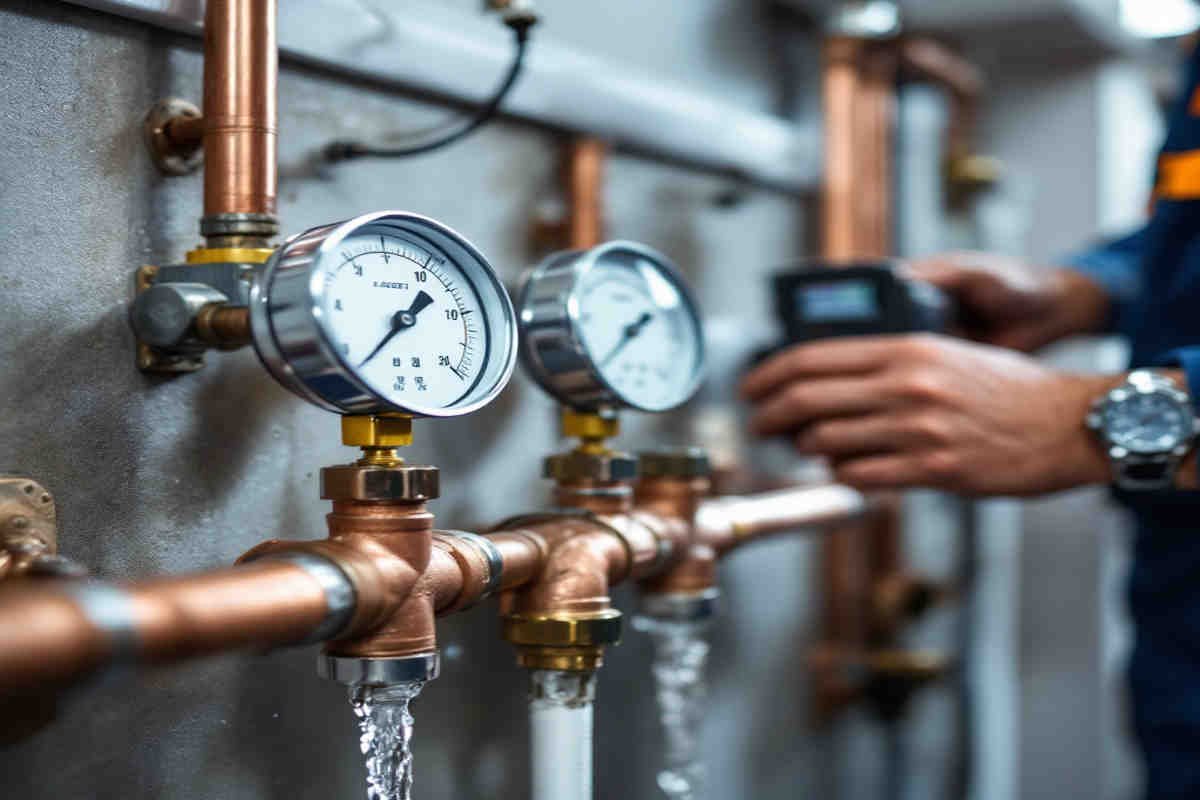
Let’s address the central question: Where should you conduct a static test in your home plumbing system? Understanding the key locations is critical for practical testing.
Key Testing Points
Here are the primary areas where static testing is typically conducted:
- Main Sewer Line Clean-Out
- The main sewer line clean-out is a common access point for static testing. These clean-outs are located near the home’s perimeter and allow easy access to the sewer system.
- Drainpipes Under the Slab or Foundation
- Testing the pipes underneath your home’s foundation is crucial for detecting slab leaks. These leaks can cause structural damage if left unchecked.
- Branch Lines
- If you suspect leaks in a specific area, such as a bathroom or kitchen, static testing can be conducted on the branch lines serving those areas.
Step-by-Step Static Test Process
Here’s how static testing works in practice:
- Insert the Test Ball
- A test ball is inserted into the pipe at the designated testing point. This ball acts as a seal to block water flow beyond that point.
- Inflate the Test Ball
- Using an air pump, the ball is inflated to create a watertight seal within the pipe.
- Fill the System with Water
- Water is added to the system until it reaches the slab or the desired testing level. The water level is then closely monitored for 15–20 minutes.
- Monitor for Water Level Drops
- If the water level drops, it’s an indication of a leak. The rate of the drop can help determine the severity of the issue.
- Isolate Sections for Further Testing
- Additional isolation tests can be conducted on smaller sections of the plumbing system to pinpoint the exact location of the leak.
You may also read (home plumbing venting).
Tools and Equipment Needed for Static Testing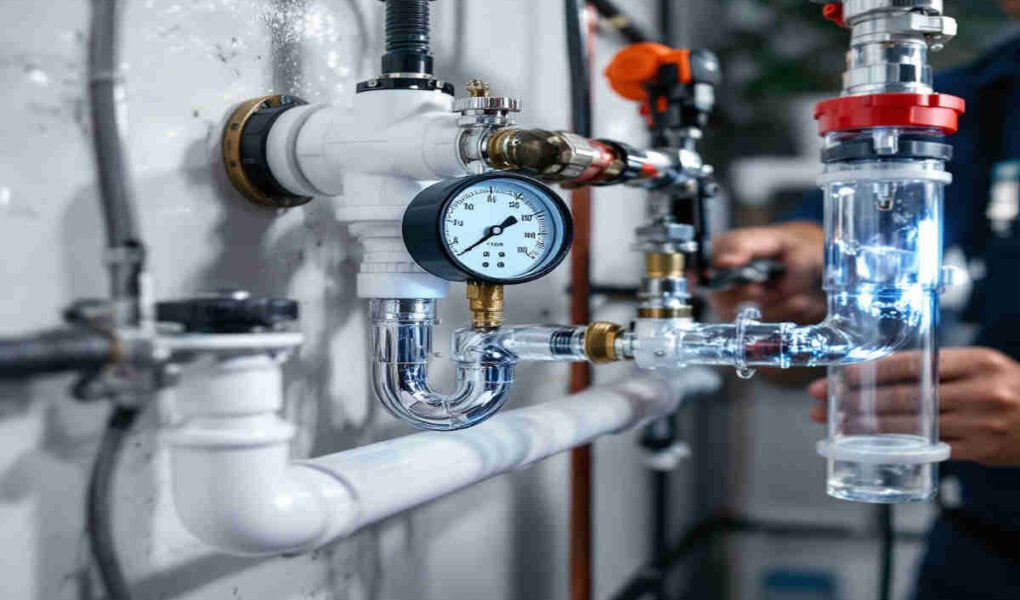
You don’t need a fully equipped plumbing truck to perform a static test, but having the right tools is essential for accuracy and safety.
Essential Tools
Here’s a list of basic tools required for static testing:
ToolPurpose
Test Ball : To seal off the pipe for testing
Air Pump To inflate the test ball
Water Source : To fill the plumbing system with water
Pressure Gauge : To monitor pressure levels (if applicable)
Water Level Indicator : To observe and measure any drop in the water level
Optional Tools
Professional equipment such as electronic leak detectors or advanced pressure gauges may be required for more precise testing or complex plumbing systems.
Safety Precautions
- Always wear safety gloves and goggles during testing.
- Avoid overinflating the test ball, as it may cause damage to the pipe.
- Be cautious when working with pressurized systems to prevent accidents.
Interpreting Static Test Results
Once the test is complete, the results can provide valuable insights into the health of your plumbing system.
What the Results Mean
- No Water Level Drop: Congratulations! Your plumbing system is leak-free.
- Slow Water Level Drop: This indicates a minor leak that should be addressed soon to prevent worsening.
- Rapid Water Level Drop: Significant or multiple leaks are present and require immediate attention.
Next Steps After Detecting Leaks
If leaks are detected, consider the following actions:
- Conduct isolation tests to locate the exact source of the problem.
- Consult a professional plumber for repair recommendations.
- Immediately prevent further damage, such as shutting off the water supply to the affected area.
DIY vs. Professional Static Testing: Which Should You Choose?
While it’s possible to perform a static test yourself, there are pros and cons.
DIY Static Testing
- Pros: Cost-effective, convenient, and suitable for minor testing.
- Cons: Limited accuracy and potential safety risks if not done correctly.
Professional Static Testing
- Pros: High accuracy, comprehensive diagnostics, and peace of mind.
- Cons: May be more expensive than a DIY approach.
When to Call a Professional
If you’re dealing with complex plumbing systems, significant leaks, or slab foundation issues, it’s best to leave the testing to a licensed plumber. Their expertise ensures the job is done safely and effectively.
You may also read (plumbing in your home).