
Imagine this: You have finally decided to build that dream garage. You may need a dedicated woodworking workshop, a safe harbor for your classic car, or a clutter-free zone to organize your life. You can already picture the finished structure, boosting your home’s curb appeal and functionality. But before you can frame a single wall or hang a single shelf, you need to start at the very bottom.
Every great structure relies on a solid foundation. If you are a homeowner looking to add value to your property, learning how to lay a concrete base for your house garage is one of the most empowering skills you can master. While hiring a professional crew is always an option, taking the DIY route can be incredibly rewarding—both for your pride and your wallet. In fact, tackling this project yourself can save you upwards of $5,000 compared to hiring professional contractors.
Why a Concrete Base for Your House Garage?
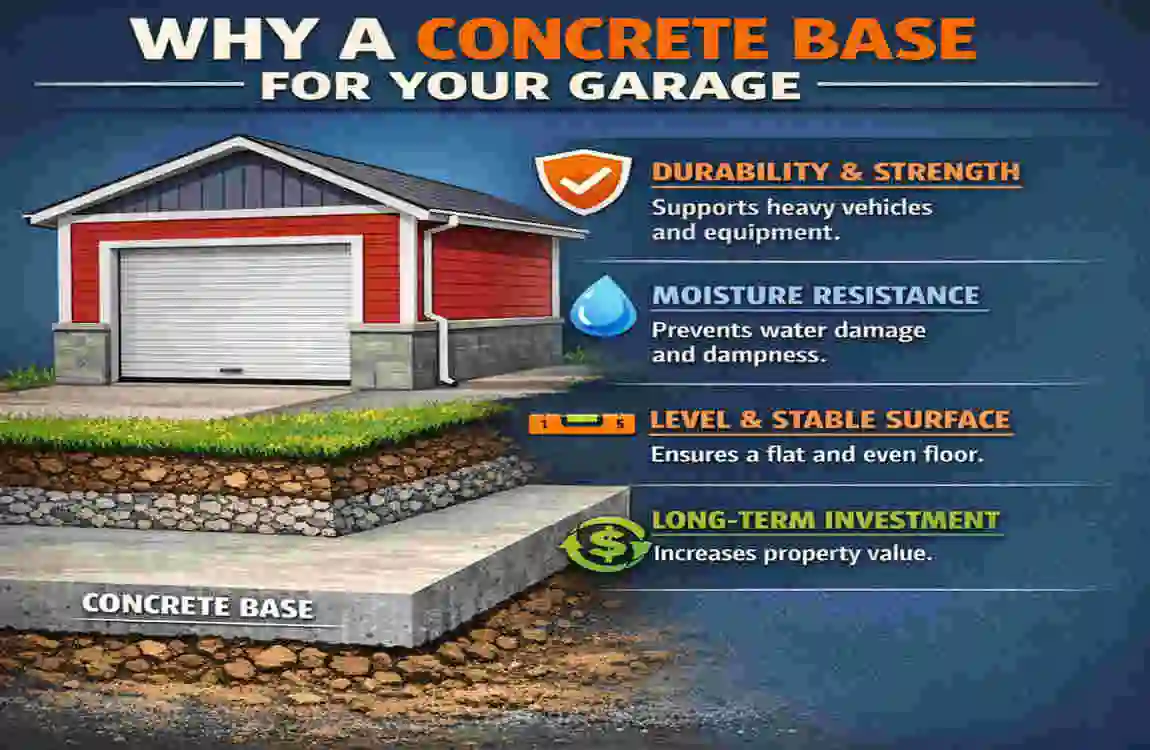
When planning a garage build, you might be tempted by cheaper or faster alternatives, such as gravel pads or wooden floor frames. While those have their place for lightweight sheds, a garage demands something far more robust.
The primary advantage of a concrete slab is its load-bearing strength. A properly poured concrete base, cured to a standard 4,000 PSI (Pounds per Square Inch), can easily withstand the weight of heavy SUVs, trucks, and machinery. To put that in perspective, a standard concrete slab can support 3 to 5 tons per vehicle without flinching.
Longevity is another massive factor. A well-maintained concrete base can last 20 to 30 years or more. Unlike wood, which is susceptible to rot, termites, and moisture damage, concrete is inorganic and tough. It also offers superior frost resistance, which is critical if you live in an area with freezing winter temperatures.
Statistics show that poor foundations are the root cause of nearly 40% of garage structural failures. Choosing concrete minimizes this risk significantly.
Comparing Foundation Options
To help you visualize why concrete is the gold standard for garages, take a look at this comparison:
Foundation TypeCost per sq ftDurabilityDIY EaseBest Used For
Concrete Slab $4 – $8 High Medium Garages, Workshops, Heavy Vehicles
Gravel Base $2 – $4 Low Easy Small Sheds, Temporary Parking
Wooden Frame $6 – $10 Medium Hard Garden Studios, Light Storage
As you can see, while gravel is cheaper and wood is aesthetically pleasing for cabins, learning how to lay a concrete base for your house garage offers the best balance of cost and permanent durability.
Tools and Materials Checklist
Before you break ground, you need to gather your arsenal. Concrete waits for no one once it starts to set, so being organized is critical. Here is what you will need to get the job done right.
Essential Tools
- Excavation Tools: Heavy-duty shovel, pickaxe, and wheelbarrow.
- Measuring Tools: Tape measure, string line, batter boards, and a 4-foot level.
- Compaction: A hand tamper is okay for small spots, but for a garage, rent a plate compactor ($60/day).
- Finishing Tools: Bull float (crucial for smoothing large areas), magnesium float, finishing trowel, and an edger.
- Mixing: For a full garage, order ready-mix concrete. If you are mixing yourself, rent a concrete mixer ($50/day).
- Safety Gear: Rubber boots, heavy gloves, and safety glasses (concrete is caustic and can burn skin).
Required Materials
- Concrete Mix: You want a mix rated for at least 4,000 PSI. To calculate how much you need, multiply the length x width x depth (in feet) to get cubic feet, then divide by 27 to get cubic yards. A standard slab is 4 inches thick.
- Rule of Thumb: 0.15 cubic yards per square foot at 4 inches thick.
- Gravel/Hardcore: Enough for a 4–6 inch sub-base layer.
- Lumber: 2x4s or 2x6s for building the formwork.
- Reinforcement: #4 Rebar or heavy-gauge wire mesh.
- Vapor Barrier: Heavy-duty DPM (Damp Proof Membrane) or 6-mil plastic sheeting.
Estimated Cost
For a standard 20×20 ft garage slab, you are looking at approximately $1,200 for materials and rental tools combined. This is a fraction of the cost of hiring a contractor.
Planning and Site Preparation
The success of your project is determined before you even touch a shovel. Step one is all about precision planning. You need to know exactly where your garage will sit and ensure the ground is ready to accept it.
Measure and Mark
Start by determining the exact footprint of your garage. A pro tip here is to add 6 inches to the slab’s width and length. This allows a little overhang and makes framing the walls easier later.
Using wooden stakes and mason’s string, mark out the perimeter. To ensure your corners are perfectly square, use the 3-4-5 method: measure 3 feet along one side, 4 feet along the adjacent side, and the diagonal distance between them should be exactly 5 feet. Adjust your strings until this matches up perfectly.
Check Local Codes
Do not skip this step! Head to your local municipal building department. You will likely need a permit for a permanent structure, such as a garage. They will tell you how far back you need to be from property lines (setbacks) and whether there are specific concrete thickness requirements in your area.
Establish Slope
Drainage is vital. You never want water pooling around your garage foundation or flowing into the garage. Plan for a slope of about 1% to 2% running away from the building site. This ensures that rain and snowmelt naturally flow away from your new concrete base.
Excavate and Level the Ground
Now comes the workout. You need to clear the area to make room for the sub-base and the concrete.
Digging Down
You aren’t just digging a hole for the concrete; you are digging a hole for the entire foundation system. You typically need to excavate to a depth of 8 to 12 inches. This accommodates:
- 4 to 6 inches of compacted gravel (sub-base).
- 4 inches of concrete slab.
Remove all topsoil, grass, roots, and organic matter. Organic material decays over time, creating voids under your concrete and leading to cracking. If you live in a cold climate, you may need to dig a perimeter trench (footing) that goes down to the frost line (often 30-40 inches deep) to prevent the ground from freezing and heaving your slab up in the winter.
Compacting the Soil
Once you have reached the desired depth, the soil at the bottom of your hole must be rock-hard. Loose soil will settle later under the weight of the concrete and your car.
Use a plate compactor to run over the soil multiple times. If the soil is very dry, lightly spray it with a hose to help it pack down more tightly. A common mistake here is rushing this step; skipping compaction is the number one cause of settling and cracking.
The Laser Level Check
Before moving on, check the depth of your excavation with a laser level or a string level. You want the bottom of the hole to be relatively flat. Aim for a variance of less than 1/4 inch over 10 feet. This ensures your concrete slab will have a uniform thickness throughout, which is crucial for structural integrity.
install Gravel Sub-Base
You might be asking, “Why can’t I just pour concrete on the dirt?” The answer is drainage.
Concrete is porous. If it sits directly on damp soil, moisture will wick up through the slab (capillary action), leading to a damp garage and potential mold issues. A gravel sub-base acts as a capillary break, preventing moisture from penetrating.
Spreading the Gravel
Order “crushed stone” or “hardcore” for this layer. Pour it into your excavated area to a depth of 4 to 6 inches. Do not dump it all at once if you can help it. Spread it in 2-inch layers.
Compacting Again
After spreading a 2-inch layer of gravel, run your plate compactor over it. Then add the next 2 inches and compact again. This is much more effective than trying to compact 6 inches of loose rock all at once.
The Bounce Test
How do you know it’s ready? Perform a simple test: drop a heavy object (like a sledgehammer head or a large rock) onto the gravel. It should land with a solid “thud” and no bounce. If the ground bounces, it means air is trapped beneath it, and you need to compact it further. A solid sub-base is the unsung hero of a crack-free garage floor.
Build Formwork and Reinforcement
With a solid base in place, it is time to build the mold that will hold your liquid concrete.
Constructing the Forms
Use straight 2×4 or 2×6 lumber to build the perimeter frame. Secure these boards in place by driving wooden stakes into the ground on the outside of the forms every 2 feet. Screw the forms to the stakes.
Crucial Step: Use your level to ensure the top edge of the wooden forms is perfectly level (or maintains your desired drainage slope). The top of the wood will guide your tools when you smooth the concrete, so if the wood is crooked, your floor will be too.
Vapor Barrier
Roll out your Damp Proof Membrane (DPM) or heavy plastic sheeting over the compacted gravel. Overlap the seams by at least 6 inches and tape them. This is your final line of defense against ground moisture.
Adding Reinforcement
Concrete has high compression strength (it holds weight well) but low tensile strength (it pulls apart easily). Reinforcement fixes this. You have two main options:
- Rebar (#4 bar): This provides maximum strength. Lay it out in a grid pattern with 12-inch to 24-inch spacing. Tie the intersections with wire.
- Wire Mesh: Easier to install and cheaper, but slightly less robust.
Important: The reinforcement needs to sit in the middle or lower third of the concrete slab, not on the bottom. Use “chairs” (small plastic supports) or brick fragments to lift the rebar or mesh 2 inches off the ground.
Reinforcement TypeStrength BoostRelative CostBest For
Rebar Grid 50% + Higher Heavy Trucks, Workshops
Wire Mesh 30% Lower Standard Car Storage
Mix and Pour Concrete
This is the main event. If you have a large garage, I highly recommend ordering ready-mix concrete from a truck. It ensures a consistent mix and saves you back-breaking labor. If you are mixing by hand for a smaller base, use a 1:2:3 ratio (1 part cement, 2 parts sand, 3 parts gravel).
The Pour
Start pouring at the corner furthest from the entry point. Pour the wet concrete into the forms, filling them slightly higher than the top edge. Use a shovel or a hoe to pull the concrete into corners and fill voids.
Screeding
Immediately after pouring a section, you need to “screed” it. Take a long, straight 2×4 board that spans your forms. With one person on each side, rest the board on the top edge of the forms. Using a sawing motion (back and forth) while pulling the board toward you, shave off the excess concrete to create a flat surface level with your forms.
Vibrating
As you pour, you must remove trapped air pockets. If you rented a concrete vibrator, insert it vertically into the mix. If not, tap the outside of your wooden forms firmly with a hammer and jab a shovel into the wet mix repeatedly. This settles the concrete and ensures a dense, honeycomb-free finish.
Finishing and Edging
Once the concrete is screeded, the clock is ticking. You are now racing against the drying process.
Floating
Immediately after screeding, use a bull float. This is a large, flat tool on a long pole. Push it across the wet surface and pull it back. This pushes down the aggregate (stones) and brings the “cream” (cement paste) to the surface, resulting in a smooth finish.
Wait for the “bleed water” (shimmering water on the surface) to disappear. This usually takes 20 minutes to an hour, depending on the weather.
Edging and Troweling
Once the concrete has stiffened slightly (you can step on it and leave only a 1/4-inch impression), use an edging tool to run along the perimeter. This creates a rounded, durable edge that won’t chip.
Follow this with a magnesium float or steel trowel for the final smoothing. Sweep the tool in wide arcs.
Control Joints
Concrete shrinks as it dries, which creates cracks. You cannot stop this, but you can control where it happens. Use a groover tool to cut straight lines (control joints) into the slab every 10 feet. These grooves act as weak points, encouraging the concrete to crack neatly inside the groove rather than randomly across your floor.
Curing and Final Checks
You might think you are done, but the next 7 days are critical. Concrete doesn’t “dry” like paint; it “cures” through a chemical reaction called hydration. If it loses water too fast, it becomes weak and dusty.
Moist Curing
After the concrete is hard enough not to mar the surface, spray it with a gentle mist of water. Cover the entire slab with plastic sheeting or wet burlap.
You need to keep the concrete moist for at least 7 days. Lift the plastic and mist it daily. This slow cure is the secret to achieving that 4,000 PSI strength.
The Timeline
- 24-48 Hours: You can walk on the slab and remove the wooden forms.
- 7 Days: Partial cure. You can start framing light walls.
- 28 Days: Full cure. The concrete has reached its maximum hardness. You can now drive vehicles onto it.
Common Mistakes and How to Avoid Them

Even experienced DIYers can stumble. Here are the most common pitfalls when learning how to lay a concrete base for your house and garage, and how to sidestep them.
- Mistake 1: Poor Compaction.
- The Issue: If the soil or gravel isn’t packed tightly, the ground will settle unevenly, cracking your new slab.
- The Fix: Never skip the plate compactor. Compact in thin layers (2 inches at a time) rather than all at once.
- Mistake 2: Ignoring the Slope.
- The Issue: A perfectly flat slab sounds good until it rains. Water will pool in the middle or run toward your walls.
- The Fix: Ensure your forms are set with a 1-2% grade sloping toward the garage door or drainage point.
- Mistake 3: Adding Too Much Water.
- The Issue: Soupy concrete is easy to pour but dries brittle and weak.
- The Fix: Follow the mix instructions strictly. If ordering a truck, tell the driver not to add extra water unless necessary.
- Mistake 4: Removing Forms Too Early.
- The Issue: Taking the wood off while the edges are soft can cause them to crumble.
- The Fix: Patience! Wait at least 24 to 48 hours.
Cost Breakdown and Timeline
Budgeting is a huge part of the planning process. Here is a realistic look at what a DIY 20×20-foot garage base will cost and how long it will take.
Financial Breakdown
ItemEstimated Cost (20×20 ft)Notes
Materials $800 Concrete, Gravel, Rebar, Vapor Barrier, Lumber
Tools Rental $150 – $200 Mixer, Plate Compactor, Bull Float
Permits/Misc $200 Local fees and safety gear
Total ~$1,200 Contractor Price: ~$6,000+
Project Timeline
- Days 1-2: Site clearing, excavation, and gravel delivery.
- Day 3: Formwork, vapor barrier, and reinforcement installation.
- Day 4: Pour day! Mixing, pouring, and finishing.
- Days 5-11: Curing (keeping it wet).
- Day 28: Ready for heavy use.
FAQs
How thick should a concrete base for a garage be? For a standard residential garage housing cars, SUVs, or light trucks, a 4-inch thickness is the industry standard. If you plan to park heavy machinery or a large RV, consider increasing the thickness to 6 inches and using heavier rebar reinforcement.
Can I pour a garage foundation by myself? Technically, yes, but it is not recommended. Concrete sets quickly. For a large slab, you really need a team of 2 to 3 people: one to screed, one to manage the chute/mixer, and one to float the surface.
Do I really need rebar? Yes. Concrete is strong under compression but weak under tension. Rebar (or at least wire mesh) prevents the slab from pulling apart and helps keep any cracks that do form tightly closed.
What happens if it rains while pouring? Light rain won’t hurt, but heavy rain can ruin the surface finish. Have a large plastic tarp ready to tent over the slab if the weather turns. Do not let rain mix into the fresh concrete.
Should I put insulation under the garage slab? If you plan to heat your garage in the winter, placing rigid foam insulation under the concrete (above the gravel) is a great idea. It stops the cold ground from sucking the heat out of your floor.